Welcome to the Subscribers’ Aircraft Gallery.
Each submission has a ‘gallery’ of thumbnails which you can click on to see an enlarged image and read the short text describing the model – enjoy!
Gallery B: 2
Galleries: A | B | B-2 | C-E | F | G | H | I-L | M | N-R | S | T-V | W-Z
Each submission has a ‘gallery’ of thumbnails which you can click on to see an enlarged image and read the short text describing the model – enjoy!
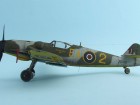
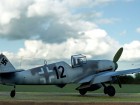
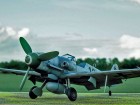
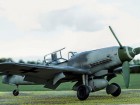
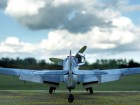
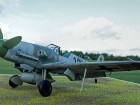
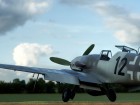
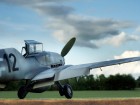
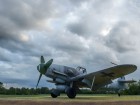
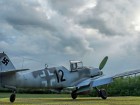
Here’s Christianto’s superb Bf 109G-6 made from the excellent Hasegawa kit. What I love about this model is Christianto’s attention to detail – the fine chipping and weathering at the wing root; exhaust staining, wheels and tyres weathering. Perhaps most of all it’s that waxy look so typical of WWII Luftwaffe fighters – all spot on to my eye in terms of authenticity and a real inspiration. Geoff
Many thanks to Christianto for sharing his excellent modelling skills with us.
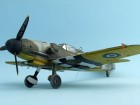
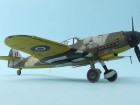
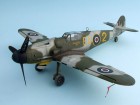
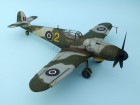
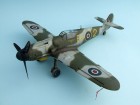
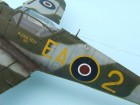
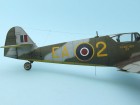
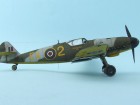
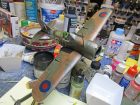
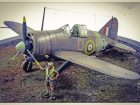
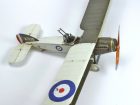
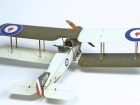
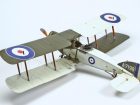
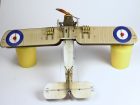
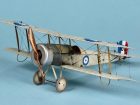
No real idea how grubby she was, so erred on the cleaner side of “freshly painted in RAF colours…”
Big thanks to Mal Mayfield from Miracle Paint Masks – Cheers, Mal: very much appreciated.
Ralph R.
All the best, Aaron S.
This is certainly inspirational and just what the SMN Subscribers’ Gallery is all about.
Geoff C.
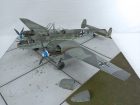
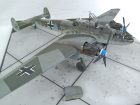
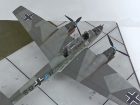
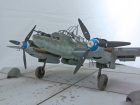
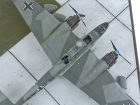
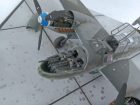
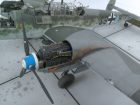
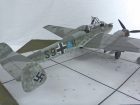
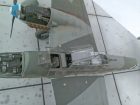
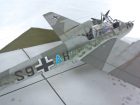
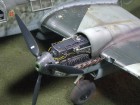
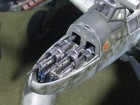
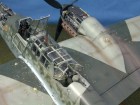
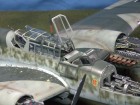
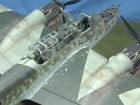
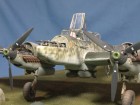
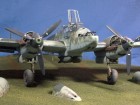
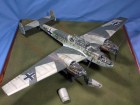
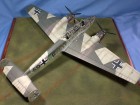
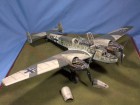
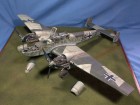
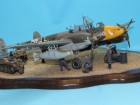
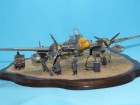
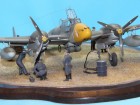
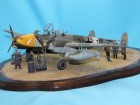
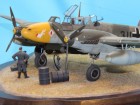
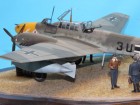
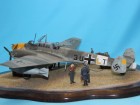
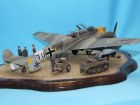
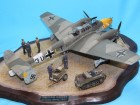
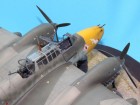
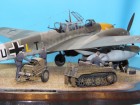
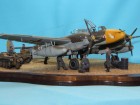
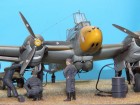
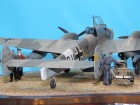
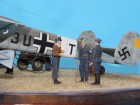
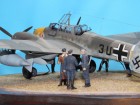
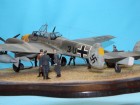
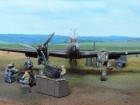
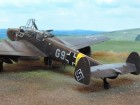
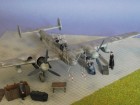
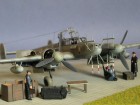
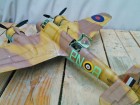
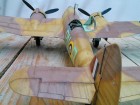
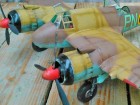
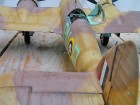
The kit is the Dragon Bf-110 C-7 in 1:32nd scale. The kit itself has some excellent surface detail and fit of parts with crystal clear glazing only let down down by poor instructions, I added some parts from Eduard with the decals from Techmod and some scratchbuilding in the form of plumbing in the open engine bays
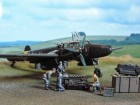
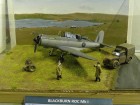
Best wishes, Ian R.For the most part, the kit assembled beautifully, apart from the engine cowlings, which did not fit well at all. However, a dose of Milliput and some judicious sanding followed by reinstatement of lost panel lines and all was well! The finish was completed using Xtracolor enamel paints. I also find in using these paints, that it’s easier to fine tune my Iwata airbrush when applying mottling on Luftwaffe A/C. The figures and equipment come from the Tamiya Power Supply Unit set and are superb, the three Luftwaffe officers in particular, having plenty of character for such small scale figures. The Kettenkraftrad and power supply trolley were a joy to build; typical Tamiya, they assembled themselves! These items were finished with Tamiya’s own colours. After completion of the diorama, I realised that the ground crew figures should probably be finished in black overalls, not blue!
Mark R.
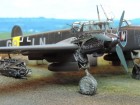
Here are a few pictures of the Bf110G-4 that I built last year.
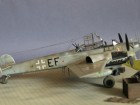
It is the (now scarce) Revell-Monogram 1/48th model which is well detailed, but which has engine nacelles of the wrong profile. Cutting Edge does a correction kit for this, and for the spinners/propellers which I managed to source in America, since this kit is also discontinued! To give further interest I added the Verlinden engine, machine gun and Schrage-musik cannon. The particular aircraft modelled is that of Major Heinz Wolfgang Schnaufer, his favoured aircraft of G9+EF which he kept in its original markings despite his promotion to command NJG4 from NJG1, the former flying Ju88Gs. Research showed however that for the period that I modelled the plane (Spring 1945), it had been fitted with Eberspacher exhausts and flame dampers, so the recently produced Owl resin kit was added.
Paints used were Vallejo and Xtracrylix, decals were by Owl and Revell/Monogram. The model was given several coats of Klear and the slightly shiny finish was retained since Schnaufer allowed his aircraft to become polished in his search for speed! Figures are by ICM.
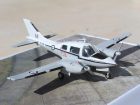
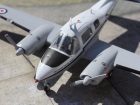
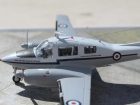
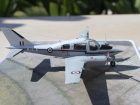
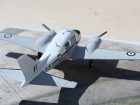
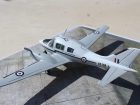
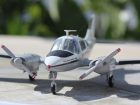
So, this is basically identical to the original issue with the RAF Transport Command decals. It shows its age a bit here and there but is actually rather a nice kit. It goes together without fuss although the windscreen needed a bit of work. I sanded the rivets down as the original was flush-riveted, I think. I added Eduard seatbelts as they can be clearly seen, even though the transparencies are thicker than we are used to on more modern kits.
The instructions would have you paint the lower surfaces silver but they were in fact Light Aircraft Grey.
So, there you have it; another RAF Transport Command type to add to my growing collection!
Roger H.
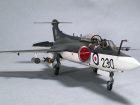
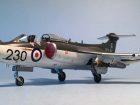
Model was painted with a combination of Mr Color, Tamiya, and Humbrol paints.
Decals from Modeldecal sheet No. 57, and the Airfix kit insignia and stencils. I used replacement ejection seats from CMK which were enhanced slightly with photo etch from eduard. Wheels were replaced with new ones from Eduard (Brassin range) and the pitot boom on the left wing is from MASTER. Small TAT/ADC probes from the kit were too small to manipulate so I fabricated replacements from scratch.
David H.
This kit went together like a dream and the additional resin wheels and photo etch really lifted it. I scratch built details for the cockpit (not that its easy to see any of it) and some small ducts and vents at the rear of the fuselage. I also used brass tube and fine wire for the various pitot tubes.
Having obtained both Tamiya X-6 and Humbrol G18 & M46 paints for the main colour I ended up creating my own mix from the two Humbrol ones based on photos I found in various references. The decals were some of the best I have ever used and gave a flawless finish. It is coated with Alclad satin sheen and lightly buffed.
Hope you like it…
Tim H.
Model was painted with a combination of Mr Color, Tamiya, and Humbrol paints.
Decals from Modeldecal sheet No. 57, and the Airfix kit insignia and stencils. I used replacement ejection seats from CMK which were enhanced slightly with photo etch from eduard. Wheels were replaced with new ones from Eduard (Brassin range) and the pitot boom on the left wing is from MASTER. Small TAT/ADC probes from the kit were too small to manipulate so I fabricated replacements from scratch.
David H.
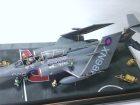
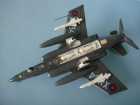
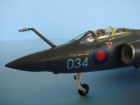
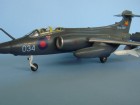
The basic kit is not bad at all but some additions are necessary to improve it a bit.
A new cockpit from Neomega was installed and the wing fold and speed brake mechanisms were scratch built.
Extra panel lines and rivets were also added and the kit decals were useless so an aftermarket set was used.
Paints are from Gunze Aqueous.
René VDH.
Weathering is with Tamiya compact pigments.
The figure is included with the kit, painted again in Vallejo acrylic with the dog coming from the Tamiya animals set. It’s 1:35 but doesn’t look too out of place, acrylics again used to paint and Tamiya weathering compact to highlight.
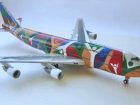
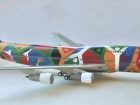
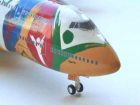
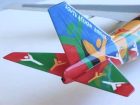
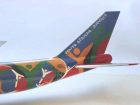
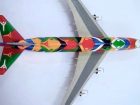
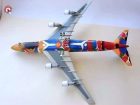
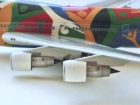
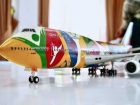
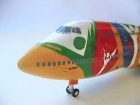
I went to ARC…. I had my eye on this plane. I modified Revel’s 1:144 747-400 and converted it to 300….we played with the wings and engine – Revell supply it with Rolls Royce. So I converted it to PW4000.
We bought the decal from the Brasil company….I saw that the colours were right….I said whether it was a hand or a man.
I painted it myself…no decals
Izzet C.
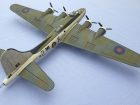
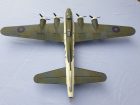
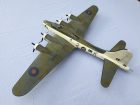
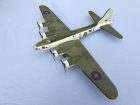
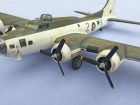
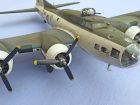
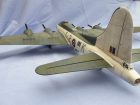
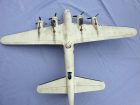
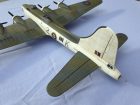
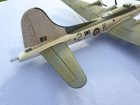
Converted from Revell/Monogram 1:48 scale B-17F ‘Memphis Belle’
Primarily an anti-submarine unit, 220 also undertook met-recce sorties as required.
FA699 was later allocated to 519 and 251 Squadrons, both of which were dedicated meteorological units whose Fortresses usually had their ball turret removed – as well as the dorsal turret too in some instances, leaving just the twin .5 tail guns.
“Kitty” survived to be finally struck off charge on 29.12.1945.
Rob D.
Joining the two towers with horizontal bracing, I went onto the four rails that determine the structure of the entire wing structure.
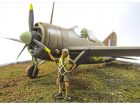
The seat is vac formed, starting from a small wood master, while tanks, dial instruments and the entire location of the tail gunner, resin pieces are printed from original made in plasticard or metal. The engine model is divided into 18 parts resin (14 only for cylinders) and 28 metal parts (pushrods and pipes).
The cowling typical of K14 was created through turning, while the fish-tail exhaust pipes and propeller with its hub have been made of resin. The wings and tail are worth a separate mention considering they are the only parts of “skinned” aircraft.
Wings and tail were then thermoformed over a wood master duly carved for the purpose. The legs of the basket are the most complex part of the model, made with Minimeca metal tubes. Wheels are resin with metal rim and thermoformed plastic.
Proving more difficult were the linkage of the wings / rudder pedals of the pilot and the myriad of pipes covering the fuel system and lubricating oil.
The color shows the livery adopted by most Bredas in the pre-war period. Thanks to the combination of the Harder & Steenbeck Evolution airbrush and Vega compressor, I was able to paint the model with no difficulty. After a few days I sanded the model with fine 1200 grit to eliminate any small dust particles. Four coats of Humbrol varnish sealed the model after applying a few Tauromodel Decal.
Stefano De R.
All the best, Mike Moore
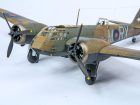
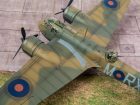
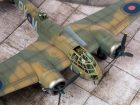
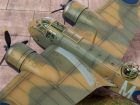
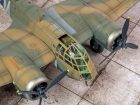
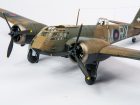
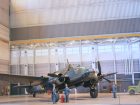
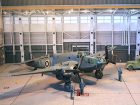
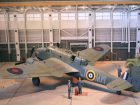
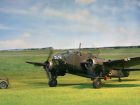
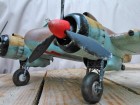
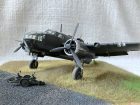
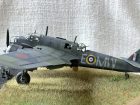
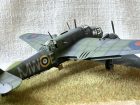
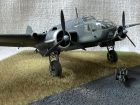
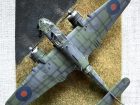
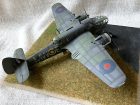
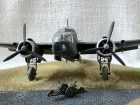
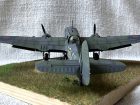
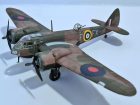
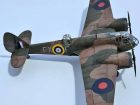
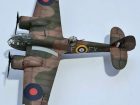
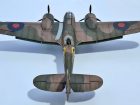
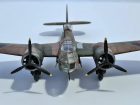
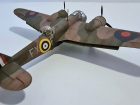
The Airfix model is a superb kit, detail is excellent with a highly detailed cockpit, undercarriage and engines. It all goes together easily with little work required on the seams, it is however a fairly complex build in places.
Thanks go to Airfix for supplying the kit. The model was painted based on research for my new book on the Blenheim, which is available now on Wingleader’s website.
Alan P.
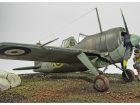
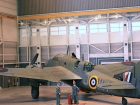
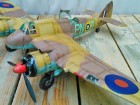
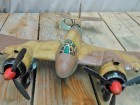
It was great to see the Beaufort in nicely rendered styrene, and also pleasing that it was an early Bristol Taurus engined Mk1 version. However, I don’t like Airfix’s over-enthusiastic panel lines on the fuselage, so I spent quite a lot of time filling them with putty to calm them down. The turret area on the kit is adapted so that a Mk.2 is clearly planned. This versatility in the kit compromises the fuselage here as a lot of filling is again required to fare the insert around the Mk.1 turret. I used the AK interactive paints and supplemented the kit with Gaspatch 3-D Vickers K guns.
I was inspired by the book ‘Last of the torpedo flyers’ by Arthur Aldridge about his time in 217 Squadron, which is one of the marking sets available in the kit. He reckoned that on the basis of his intake of trained Beaufort crews, there was only a 20% chance of surviving torpedo ops. The Warpaint book on the Beaufort shows how weathered these aircraft got which suited me fine!
Hope you like it?
Andrew J.
I scratch built a gun sight from clear plastic and painted black – the same approach for the rear radar station.
Once the aircraft was built I gave the upper fuselage a coat of sandy yellow, once dried I used a sponge with Maskol and followed all the panel lines to give the appearance of sand and sun weathering. Then a lighter shade of sandy yellow was sprayed and when dry the Maskol was carefully removed. Happy with the results I carried our the same procedure using earth brown.
The underside of the aircraft was painted light blue then ‘Maskoled’ and white was mixed into the light blue to give a worn look.
To give the appearance of a well worn aircraft aluminium was sponged on very sparingly using a domestic household sponge.
A couple of coats of floor wax were then applied and the Revell decals positioned.
Once dry a coat of Windsor and Newton matt varnish was painted over the entire model to seal it.
This has been a very enjoyable kit to build and I’m contemplating purchasing another and building it as a night fighter with a scratch built Bolton Paul Defiant turret.
David H.
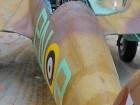
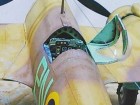
I completed it as MW-E, N1173, from the well known photos. Specifically I have interpreted these as showing larger code letters than MW-R (shown on the decal sheet) and also a black cowling on the starboard engine. As usual all markings other than stencils were masked and sprayed and I have to admit that I seem to have painted the fin flash pointing the wrong way! (Should narrow towards the rear).
I had wanted to use this model as a test for post-shading, which has come out as I intended. I’d also wanted to chip it heavily, but in rushing failed to paint a metallic undercoat so had to paint the chips. I think it looks OK, but not as good as it could have done, partly because (to my eye) the chips never seem to look truly flat done this way.
Craig W.
It is a lovely kit that got released a few years ago and is a new tooling. Hence it has crisp, engraved panel lines, plenty of detail in the cockpit. It is no longer a seat, pilot and control stick for cockpits on 1:72 kits.
The glazing is lovely and shiny and comes in 3 parts but they join really well. I did mine as an RAF warbird but there is an option to make a Romanian Air Force version. I used various Tamiya acrylic colours on this build whereas Airfix instructions had their usual Humbrol colour callouts.
The build starts with the wing spars which seems to be common now amongst Airfix’s latest releases. But it makes for a stronger wing assembly and no gaps that need filler. The only niggle is trying to get the bombs attached to the fuselage – they are extremely small so surgeon’s hands required. I didn’t want to over weather this build so I just used a nice wash over the top surfaces as the undersides were standard bomber command “night”.
Decals went on great with no silvering or ripping. With plenty of softener they conformed to the panel lines. A great kit, plenty of detail which you will see, and less than £20. Highly recommended.
Alastair G.
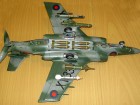
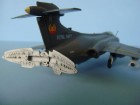
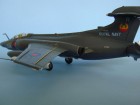
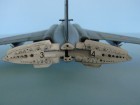
This kit is a bit crude in detailing and has not the best fit. It was heavily modified with extra panel lines and a lot of rivets.
The cockpit is replaced by a resin cockpit from Neomega which is very nice and has a good fit. The wing hinges were completely scratch built, as was the mechanism of the speed brake and the intake covers.
The speed brake was detailed with a photoetch set from Airwaves. The landing gear was modified and received details from stretched sprue.
Paint used is Gunze Aqueous which I spray in very thin, almost translucent layers. This way you can create several shades of color without mixing paint. Some shading with lighter shades of the basic colours was done.
The kit decals were useless and replaced by aftermarket sets from Kits-World and Model Alliance.
René van der Hart
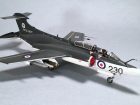
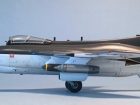
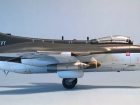
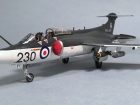
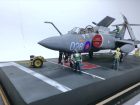
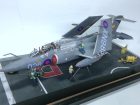
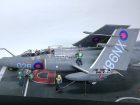
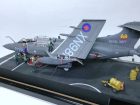
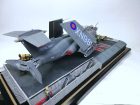
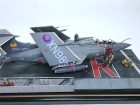
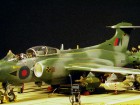
This Buccaneer is the Aerodynamix 1:32 kit that has revolving turbine blades, revolving bomb bay and all nav, hazard and cockpit light work.
The figures are from Airfix ‘multipose’ kits converted from soldiers to aircraftsmen.
The ancillary equipment and bombs are from the Flightpath range. Paint used was Humbrol enamels airbrushed onto the model.
Brian Boot
Galleries: A | B | B-2 | C-E | F | G | H | I-L | M | N-R | S | T-V | W-Z


