More of our Subscribers’ amazing aircraft: T-V
Galleries: A | B | C-E | F | G | H | I-L | M | N-R | S | T-V | W-Z
Each submission has a ‘gallery’ of thumbnails which you can click on to see an enlarged image and read the short text describing the model – enjoy!
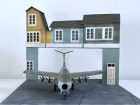
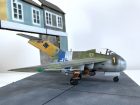
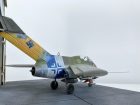
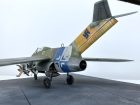
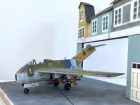
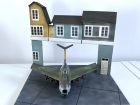
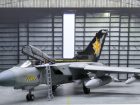
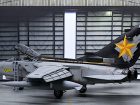
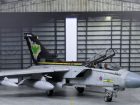
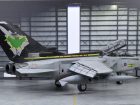
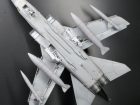
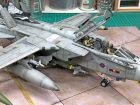
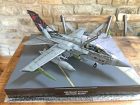
This one as built as a bit of fun given the chance to engage in Luft 46 ‘what if?’, particularly the 2-colour balkenkreuz on the Reich Defence band.
This is the second of these kits which I’ve built; they’re very enjoyable and go together with no fuss. The build is essentially OOB. Markings are either masked or from the spares box. I was very pleased to find the ‘Huckebeins’ deep in there.
The backdrop takes inspiration from the well-known photo of the Typhoon at Melsbroek. The hangar would have benefitted from being deeper and having a back wall, but space constraints prevented that.
Craig W.
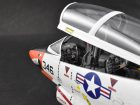
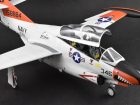
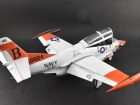
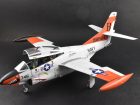
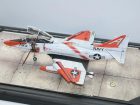
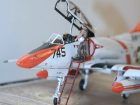
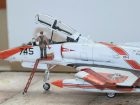
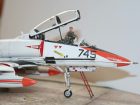
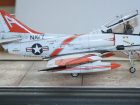
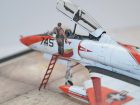
Here is my favorite model aircraft. Just finished this 1:48 TA-4J Skyhawk. It was built using 2 kits.
The Hasegawa and Classic Air-frames are combined using a lot of resin from the CA kit to update cockpit areas and wheel wells. Took me several months to complete but overall happy with the look.
Hope you like it too?
Paul T.
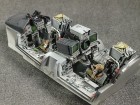
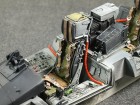
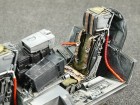
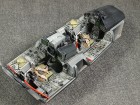
Here’s my HobbyBoss 1:48 TA-7C Corsair II.
The cockpit was beefed up with scratch-built parts and 2 resin seats from Wolfpack. The electronics bays are from Aires.
Painting is done with Gunze Aqueous paints over an Alclad black primer. The decals are from an aftermarket set from Xtradecal.
Hope you like it?
René VDH.
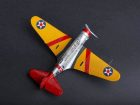
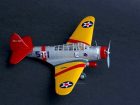
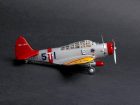
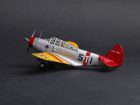
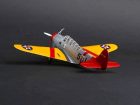
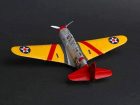
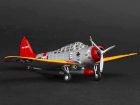
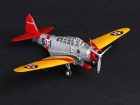
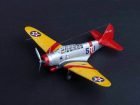
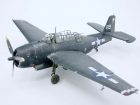
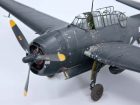
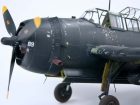
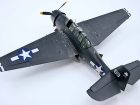
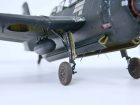
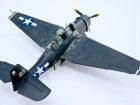
Here’s my 1:48 scale GWH Devastator float plane. In real life only one was ever built. This one was in natural metal finish. The one I built was painted in operational colours of a normal Devastator.
The kit is very easy to build and has very fine details. The only problem is that it is impossible to stack all the glass parts on top of each other in open position. Overall simply a good kit.
The model was painted with Gunze paint, weathered with Mig Productions wash and finished off with an Alclad flat coat.
Hope you like it?
René vd H.
Hope you like it…
Alexander P.
Here’s a link to Alexander’s FB page
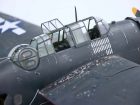
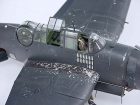
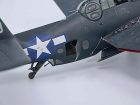
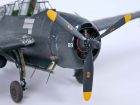
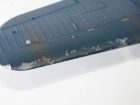
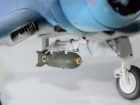
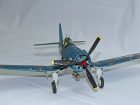
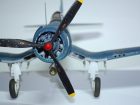
Apart from canopy masks, this has been constructed straight out of the box with no extras. The chipping effect was achieved via the standard method of an undercoat of Alclad II Duraluminium and applying Maskol with a fragment of sponge before applying the top coat (mainly on the walkway on the wing roots and around the machine gun cover), and in other parts using chipping fluid, such as around the engine covers and wheels.
Various weathering pencils dipped in water and worked in with a brush were used around the wing and some body areas, along with various pigments, to achieve the different hues and a bleached/dusty effect. An aluminium weathering pencil was used extensively along panel lines and pigments were used on the tyres.
Overall this is quite an advanced piece of kit, but still within reach of relative novices who have perhaps practised on a few smaller items before progressing on to something bigger.
David P.
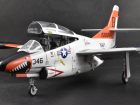
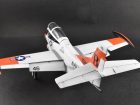
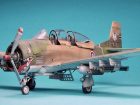
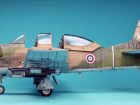
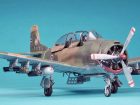
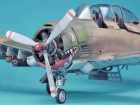
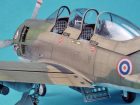
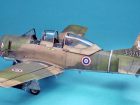
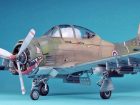
This here is the build I am most proud of. It’s the T-28D Trojan 1:48th scale from Roden. I bought the kit at the Aviation Megastore here in Holland and for some reason it really appealed to me very much and I started it right away. The kit itself is not very detailed with deep panel lines and thus I decided to try something new and I started my first big riveting adventure. For this I used Petr Dousek’s “Rosie the Riveter” which I think is the best tool that I have in the toolbox.
I found a very old picture from a Royal Thai Airforce Trojan on the net with a sharkmouth and I immediately knew that this was the one to go for. I needed to make a few decals of my own and I had to paint the sharkmouth but all this worked out.
I have used the following aftermarket extra’s / paints with this kit:
– Aires 4576 cockpit set (drop in fit, superb!)
– SAC landing gear
– Vector resin engine (19 parts!)
– Gunze paints
– Mig wash
The fit of this kit is really good, I was quite impressed. I only had some trouble with the cowling, this needed some trimming at the underside. Oh, before I forget, use a LOT of lead in the nose for this one!
For painting, after I did a panel line pre-shade with matt black, I used the base colours which are recommended for the Vietnam coluors (SEA camo). These are H303/H309/H310/H311 which are spot on. Then I take a lighter version of each of the same colors to lighten it and spray each centre of every panel in a random manner, so that not every panel has the same look and feel to it. Then I lighten the paint one more time and spray the centre of each panel again, but now I stay much closer to the middle of each panel. And that’s it!
I hope you like my baby and I wish you all lots of fun with this great and creative hobby!
Best regards, Jeroen Burger
Kit: Hasegawa 1:48 TF-104G Starfighter
This kit was built with an aftermarket cockpit and exhaust from Aires. The detailing inside the canopy was scratch built.
Like all my models lately, this one received a first layer of Alclad black primer.
Paint used is Gunze Aqueous which I spray in very thin, almost translucent layers. This way you can create several shades of color without mixing paint. Some shading with lighter shades of the basic colors was done.
The orange on the tip-tanks was painted with a base of white on the top, faded to yellow to the bottom. The orange was built up in thin layers until the desired effect was reached.
Kit decals and paints from Gunze as usual.
René van der Hart
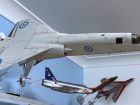
to enable me to scratch build them. As it was going into an acrylic case I decided to suspend the lower portion of the roof from the top of the case. The pics could be better but I am no photographer!
All the best
Mike Moore
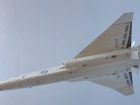
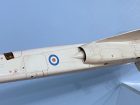
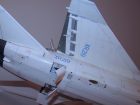
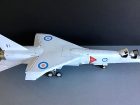
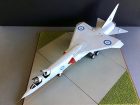
I used the 1:48 scale Dynavector kit, and it is my first vac formed build. The air brakes are CMK versions designed for the Airfix kit, and as such a bit of fettling was required (they are also actually oversized, but give the desired effect.
The anti-flash white is from White Ensign Models (who sadly are no longer in business, so I need to figure out where to get more for the Airfix one I plan to build at a later date. The level of weathering is based on the photo (and others from a similar time line in the airframe’s history). I used Humbrol washes and Tamiya pastes to get the effect. The various surface detail lines were added using an HB pencil as appropriate. The decals were a mixture of those supplied by Dynavector and Airfix, to get the best / most accurate representation for the stencils.
The build took approximately 4 months with a few weeks of dead stops (usually to figure out how to proceed). Hope you like it.
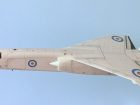
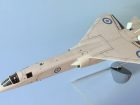
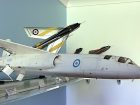
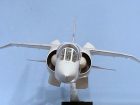
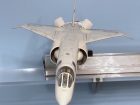
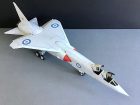
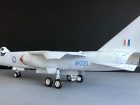
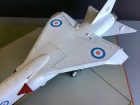
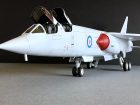
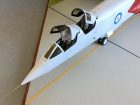
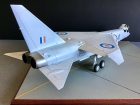
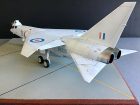
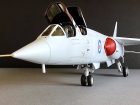
My latest completion. The Airfix 1:48 scale ‘TSR2’.
A classic kit which proved to be challenging and rewarding as well as one that needs care in construction.
I used sprue ‘strengtheners’ to make a stronger fit of the long fuselage joints and thin plasticard ‘spacers’ to help obtain level alignment of the upper surface sections.
The model was primed in grey Mr.Surfacer followed by varied white shades of Mr.Hobby Aqueous Acrylics. The NMF areas are Xtreme Metal enamels and further shading added with Tamiya weathering pastels.
The whole model then received a brush-applied coat of Klear/Pledge before and after applying the kit-issue decals which performed faultlessly and only aided with Micro Sol.
The panel lines were subtly highlighted with a soft-lead pencil. The model then received a finishing coat of Mr. Superclear Satin Varnish from the rattle can prior to final assembly.
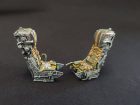
The aftermarket items used were white-metal undercarriage, ejection seats and intake covers.
I hope you enjoy viewing…
ThankYou, Paul A.
I have used aftermarket decals and really relieved that they didn’t break up after having them for 20 years!
It’s been a long build but glad to get there in the end and pleased with the final result.
Ron H.
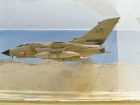
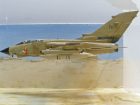
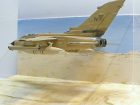
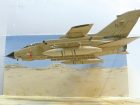
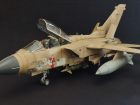
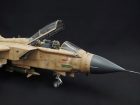
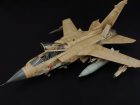
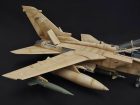
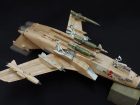
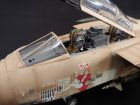
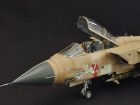
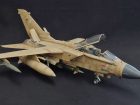
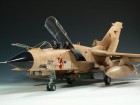
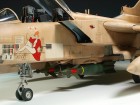
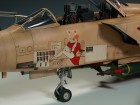
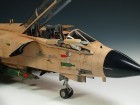
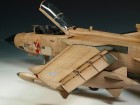
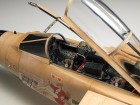
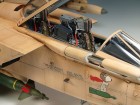
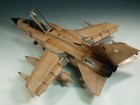
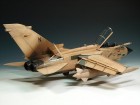
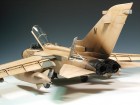
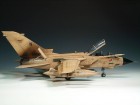
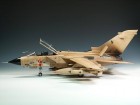
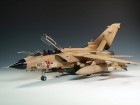
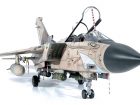
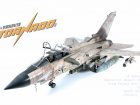
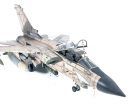
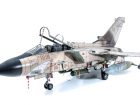
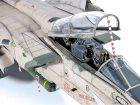
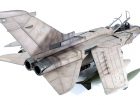
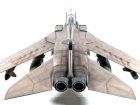
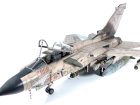
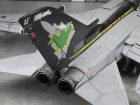
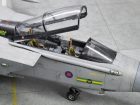
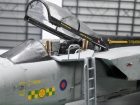
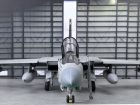
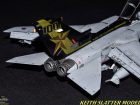
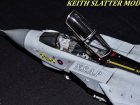
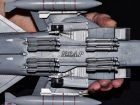
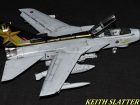
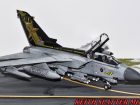
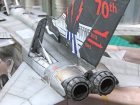
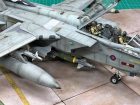
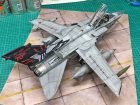
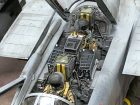
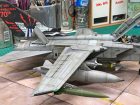
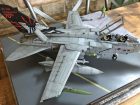
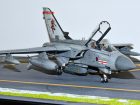
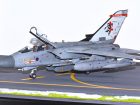
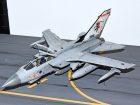
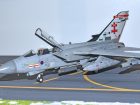
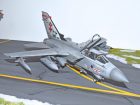
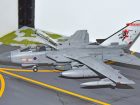
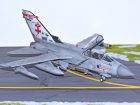
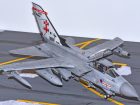
So that’s the Tonka finally complete :) pleased is an understatement! This is the Revell Tornado ECR kit (loosely) converted to a GR1 using:
• an Avionix GR1 resin cockpit set
• Flightpath decals & Sky Shadow ECM pod
• Eduard CBU-87 cluster bombs
• a scratch built LRMTS chin pod
• I also added a Master pitot & AOA probe set, and
• some HGW Remove Before Flight tags.
Painted with (Mr Paint) MRP-185 Desert Pink.
1:32 Revell Panavia Tornado GR1, FK ‘Foxy Killer’, ZA465, 16 Sqn, Operation Desert Storm, King Faisal Air Base, Tabuk, Saudi Arabia, January 1991.
Alex R.
Built OOB with Tamiya MSG/Ocean Grey used for the main camo with a slight mottle added with lightened MDG to the upper surfaces.
Alclad black used for the spine and fin, finished in Alclad matt and semi sheen with some Flory Dark Dirt used for panel lines and limited weathering. eduard weighted wheels and belts added.
Stuart M.
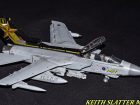
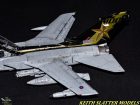
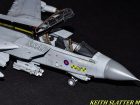
The aircraft was painted with Revell enamels and Alclad2 metals, followed by a Paynes dark grey oil wash.
The only aftermarkets parts used where:
• a set of resin seats
• eduard Brassin Brimstones (4 sets)
• Master pitot tube set and
• Xtradecal decals.
The rear antenna under the aircraft was scratch built. This is where good reference photos are a must as the GR4’s had various antennae arrays!
This kit does have its problems, but having now built five I think I have finally mastered them.
Cheers, Keith S.
The kit goes together ok, but you need to be patient with it!
I used HATAKA acrylics which are turning out to be my favoured brand, enjoy all :)
Mike T.
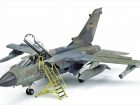
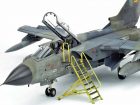
This is the IDS boxing with decals from an old Italeri kit to build a plane from the German Marineflieger.
The kit is very nicely detailed and I used a resin cockpit from CMK, which is really nice. The flaps on the wings can be posed in the up or down position, the speed brakes can be opened as can the thrust reversers.
The kit was painted with mostly Gunze paints over a black primer from Alclad2. The photo-etch ladder is from Flightpath if I remember correctly.
René van der H.
This is Graham Melton’s impressive Italian Tornado IDS in 1:48 scale made from the Italeri kit – pretty much straight from the box I think he said.
How cool is that black panther on top of the fuselage? I saw Graham’s model at the Scottish IPMS Nationals in Perth, Scotland when we exhibited the SMN stand in April 2011.
What I like most is the stunning decal on the fuselage top and although the images don’t really do Graham’s model justice, the decal simply looks for all the world like a stunning spray job – superb! Thanks Graham for giving us your kind permission to use your images in SMN.
All the best to you, Kamil
A note from Geoff…
This has to be one of the best-finished 1:48 models I have ever seen – just check out the attention detail, weathering and finishing Kamil has incorporated into his project. Stunning! Thanks Kamil for sharing and inspiring us with your work… Geoff
The kit comprises of additional extras of Aires Mk 10 Martin Baker ejection seats, Aires Burner cans, and Model Alliance decals which set off the kit. I know there are issues with the shape of the nose of the Hobbyboss kit, but I thought it built into a decent model with a bit of care and attention.
James V.
As I made this some time ago now I can’t recall if I had any problems with the assembly, but I am sure it went together pretty well.
It was painted with Alclad Chrome on a highly polished gloss black undercoat, probably also Alclad. Once the two coats of Chrome were applied I masked off small squares randomly and polished off the paint to varying degrees to give the effect of panels.
It was lightly weathered with water colours.
I am afraid that I did not take that many pics at the time and those that I took were not that good.
Julian Seddon
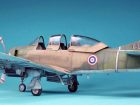
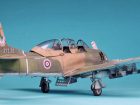
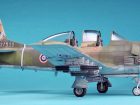
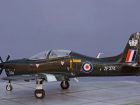
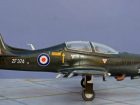
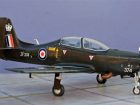
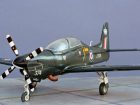
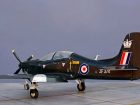
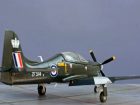
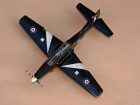
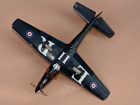
I joined SMN and saw Geoff’s exquisite build of the Alley Cat Tucano, again eBay came to the rescue and one was heading through my letterbox in short order.
I have a really good friend who apart from being a fellow aeromodeller, looks after all the engine maintenance on the Tincanos at Linton-on-Ouse.
I was chatting to him and said I would make him a model of one and asked if it was to be black or a special scheme one, luckily for me, he preferred black so the black one of the two 2012 season display aircraft was chosen.
It was the first time I had used resin as the material for a complete airframe and I must say, I was most impressed with the way the model had been engineered with one piece fuselage and wings and went together remarkably quickly.
Like Geoff’s build, I had to put a fair bit of work into the wing fuselage joint and If I was to do another would look at using something like decorator’s caulk instead of cyano to fill the gaps and mask off other areas of the fuselage to avoid losing panel detail etc. It did require quite a bit of work to achieve the smooth joint, but the results were worth it.
The canopy fit was quite complex and whilst I managed to get a good fit with the cowling and turtle decking, the canopy was not quite tall enough to reach the cockpit sides and this is something I will probably revisit before presenting it to my friend at Linton.
Using the SMN walkaround reference pics, I am still not convinced the front portion of the canopy is the correct shape, looking a bit shallow in the glazed area but it is good enough and overall the model builds into an excellent representation of the prototype. I thought the kit supplied canopy masks were sublime and the fit was absolutely perfect
As Geoff did, I used a grey black, in my case Tamiya Nato Black, but in hindsight wished I had used a “blacker” black and probably should have used a Halfords gloss black so I could have avoided having to gloss it with Johnson’s Klear for the decals which, incidentally are excellent and comprehensive, although I had to refer to SMN walkaround to find the position of all the stencils and labels.
Would I build another? Definitely!!… and quite fancy a camo display aircraft or the red/white/blue 2012 scheme, and probably would opt for an open canopy to show off the highly detailed interior.
Stuart M.
Added Flightpath PE set & resin exhaust
Xtradecal set for B2 aircraft
Referenced 101 Sqn (City of Lincoln) aircraft from RAF Waddington
None of your recent red boxed versions of “Vulcan to the Skies” edition here, this was a rare gem of a find in a small model shop in Singapore. The old grey box was battered and bruised from years of living at the bottom of the pile and although the kit was complete, it was warped and the decals faded. The instruction sheet was a one piece affair, showing all the main stages, but not much else. A little research and reviewing previous builds (inc our editor’s) gave me the confidence to take on this beastie, and a challenge it was.
Most of the build was around filling the various seam gaps and equalizing those protruding panel lines. It was not a hard decision to forego re-scribing them all. The one task above all was ‘seamless intakes’, you just know someone is going to look down there when admiring the finished model. So… no skimping on grades of sandpaper or another round of filler and the need to make those massive air swallowing scoop’s look like they should.
After much blood, sweat & tears the finished product met expectations, though I couldn’t bring myself to ‘weather’ such a beautiful Lady, just YET.
Long may the one remaining Vulcan fly and modellers everywhere continue to savour her enduring image, a one of a kind aircraft, one which will hold a special place in the hearts of many.
Galleries: A | B | C-E | F | G | H | I-L | M | N-R | S-V | W-Z
