Galleries: A | B | B-2 | C | D-E | F | G | H | I-L | M | N-R | S | T-V | W-Z
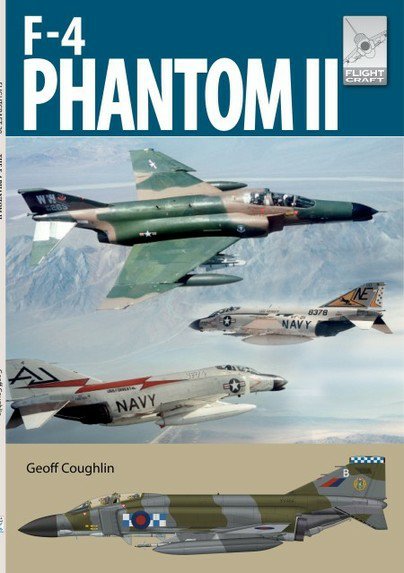
CHECK IT OUT…. GEOFF COUGHLIN’S NEW BOOK: F-4 Phantom II
Full Information and Order Now
– part of Pen & Sword’s highly successful Flight Craft series
96 pages with 100 colour illustrations
A major section of the book is devoted to scale modelling the F-4 in different scale and featuring some exciting and unique colour schemes.
A first for scale modellers everywhere – a book aimed at scale modellers of all levels interested in building the F-4 Phantom II.
Hello Phriends,
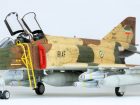
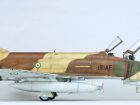
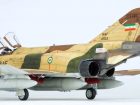
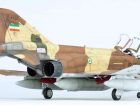
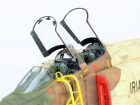
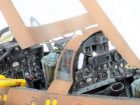
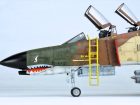
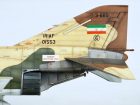
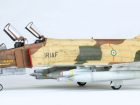
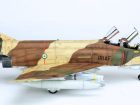
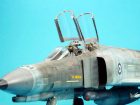
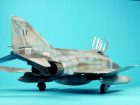
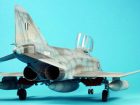
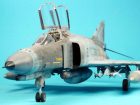
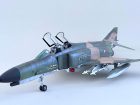
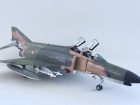
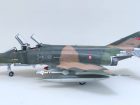
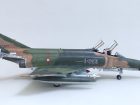
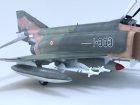
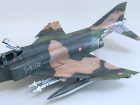
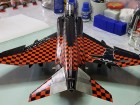
This here is my build of the Hasegawa F-4E in IRIAF markings. A lot of hours went in this one. Aires cockpit and exhausts, Icarus decals stencilling set (which took ages to apply), master pitot tube, resin AGM’s, resin exhaust covers and stabilizers from an Academy Phantom. The decals are from Modeller decals in Iran.
Have a great day, Jeroen B.
It´s a refurbished Hasegawa F-4 E with slatted wings.
The decals are from CAM pro.
Otherwise I did some weathering, added an exercise bomb disperser from a Hasegawa weapons set and a Sidewinder training round. The Sidewinder launch rails are from a Monogram F-4 kit, as they are a better representation of the real ones. Resin seats were also added.
Best wishes Jurgen J.
I love the Tamiya Phantom kits – still the only really decent kits in this scale, they aren’t perfect but they fit together better and are most accurate for variants covered.
Ian R.
Zoukei-Mura
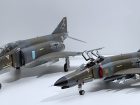
I wasn’t going to build this 1:48 F-4E for a while, but after reading Geoff’s Build Review in SMN, I decided to have a go myself. Great article from Geoff by the way, which really helped with the build, inspiring me to give it a go.
I enjoyed really this ZM F-4 far more than my last F-4S which to be honest I never connected with? I really like the SEA scheme and it goes well with my Academy F-4C which I have added to one of the shots.
A few OOB extras, Quickboost seats, Academy 500Lb bombs, which is my major gripe with ZM – rather paltry ordnance options, and metal pitot tubes, which was forced as I managed to break the attached tube on the tail, during the build!
Richard A.
This is the Hobby Time (Hasegawa) 1:48 boxing.
As of this morning, we have finished our F-4E adventure that we started installing on November 23rd. Endless thanks to my dear brother Cem DO ĞUT for his logistics support, thanks to my dear Cem DOGUT brother for his logistics support. Thank you 

Also a thank you to our brother Levent BURAK KARA…. Looking at the F-4 model that he made, I revealed this model, thank you… thank you may you live long
Izzet C.
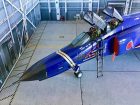
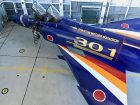
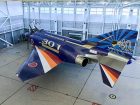
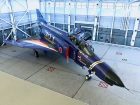
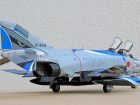
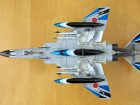
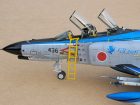
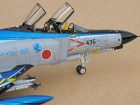
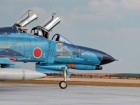
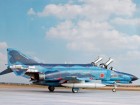
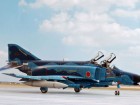
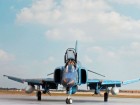
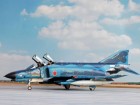
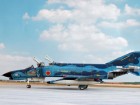
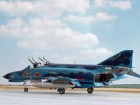
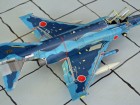
Here’s my 1:48 scale build of the JASDF ‘301 Mother Squadron Anniversary’ F-4EJ Phantom.
She’s the Hasegawa kit and finished in a mix of Mr.Hobby Aqueous acrylics and Humbrol enamels.
XTreme Metal enamels were used on the NMF areas with light weathering to the exhaust areas using Tamiya weathering pastels.
The decals are by DXM and were a joy to work with. They responded perfectly with Micro Set and Micro Sol. These were the only ‘aftermarket’ items used.
I added homemade intake covers (plasticard) and RBF Tags.
The high-gloss Cobalt Blue paintwork on the real aircraft was maintained in immaculate showroom condition so wanting to represent that I finished the model with a brush-applied coat of Klear/Pledge acrylic floor polish.
I hope you enjoy viewing and thank you for doing so.
Paul. A
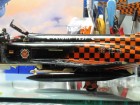
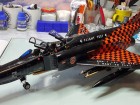
The kit is painted using AK and Tamiya acrylics, plus Mr Color metallic blue on the drop tanks. This was the first time I’ve used Alclad lacquers, so you can see these on the metal areas around the tail, horizontal stabs and exhaust cans. Takes a bit of practice and preparation is key (I’ve still got a lot to learn!), but some really nice results can be obtained.
I appreciate the weapons load out probably isn’t accurate but I wanted to build a ‘tooled up’ Phantom. This is a fabulous kit and the paint scheme (one of the best military special schemes in recent years in my opinion) is what made all the effort worthwhile.
Dab B.
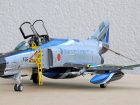
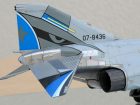
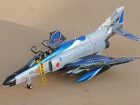
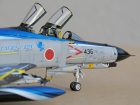
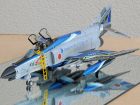
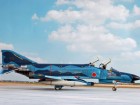
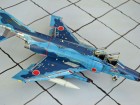
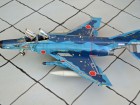
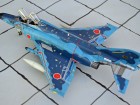
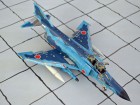
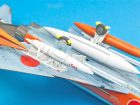
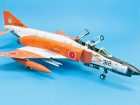
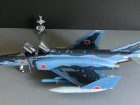
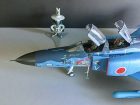
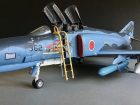
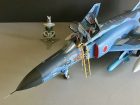
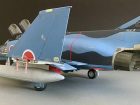
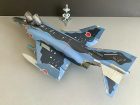
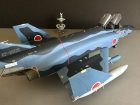
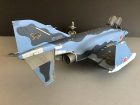
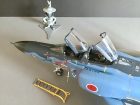
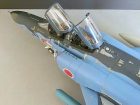
As I already had to mix these curious Japanese blue tones, which are described in the F-2A article elsewhere in the Readers Gallery, I started this Hasegawa 48th scale kit of the F-4EJ Kai in JASDF 8 Sqn service, which was rereleased recently.
Besides the Hasegawa kit I used True Details seats, the Wolfpack flaps and slats and Cobra afterburner cans. Otherwise I added the small stripes on the radar nose peculiar to the “Kai” version. The two anti-ship missiles came from the JASDF Weapons set from Hasegawa, whereas the decals are out of the box. And these decals were the only nightmare on this build, as they insisted on silvering. I rarely have such problems with decals in recent years. My system of having a Klear gloss surface and applying the decals also with Klear normally works easy and perfectly. Not so with these Hasegawa “bastards”. I overcame this after making endless small holes in each decal with a small needle and applying Microsoft Sol on each of them. That took several hours/days, but in the end saved the work invested so far.
I hope you like the result.
Maybe a F-2 two-seater or a T-4 will follow soon.
Jürgen J.
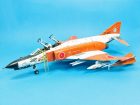
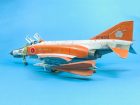
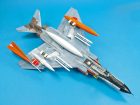
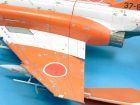
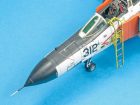
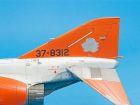
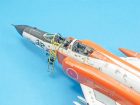
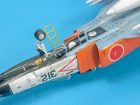
The model depicts an F-4EJ Phantom, 37-8312, belonging to 304 Hikotai, 1985…
Hasegawa’s 1:48 F-4EJ Phantom provided the basis for this build. Surface detail was added, as well as some extra detailing to the cockpit. The TDU-10B tow Target System came from a Hasegawa weapons set, although this was further modified. Decals in the main came from the box, apart from the aircraft nose and tail codes which were added in the form of a stencil created via a Silhouette Portrait cutter. MRP paints used throughout.
Andrew T.
She’s the Tamiya kit and painted in Mr.Color Acrylic Lacquers; Xtreme Metal enamels, Humbrol and Revell enamels.
Mr. Superclear Satin Acrylic Lacquer Varnish was applied straight from the rattle can for the final coating.
Resin aftermarket items were used for the ejection seats; intake covers and Sea Eagle anti-shipping missiles. DXM and kit-issue decals were used.
The kit had no wing-fold option but the outer wing sections are separate parts but the inner surfaces have good detail so I made discreet L-shaped ‘hinges’ from paper staples to mount the wings in the folded position. Once in place they were fixed with a few tiny spots of cyano adhesive. They add a little extra detaIl and feature.
I hope you enjoy viewing and thank you for doing so.
Paul A.
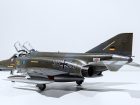
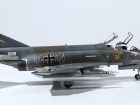
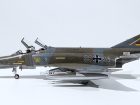
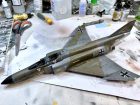
Wasn’t going to post this one but in the end this Hasegawa 1:48 F-4F turned out better than I anticipated.
The kit isn’t bad at all for its age and in my opinion stands up against the newer Meng, Tamiya and Academy F-4s as long as you keep your expectations in check.
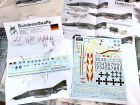
I wanted to finish in the Norm 72 scheme, so sourced AirDoc F-4F stencils AirDoc RF-4E Decals from which I got the Luftwaffe German crosses and a set of Penndinghaus F-4F decals for a ‘Molders’ Sqn frame that took part in TAM84.
Painted with Vallejo. Also added some wiring to the cockpit and replaced seats with Quickboost ejector seats which are my go-to on most kits.
All in all the kit came together really well, and looks good alongside my Revell 1:32 F-4F which I finished a while ago, but highlights the inaccuracies on the Revell kit!
About to start on of my ZM F-4s which will be my first, so looking forward to that project
Richard A.
Hope you be fine.
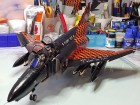
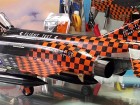
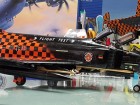
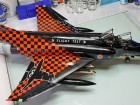
I am “Mehdi Nader”, a professional modeler who is living in Iran, Tehran.
I am one of your website’s fan. As the matter of fact, recently I’ve finished
a Revell 1:32 F-4F Phantom II WTD 61 “Flight Test” kit. Actually it took around 35 hours to be made.
I just wanted to share its pictures to you too .
Thanks & Regards, Mehdi Nader
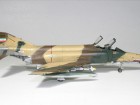
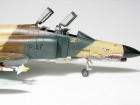
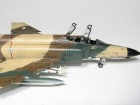
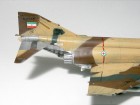
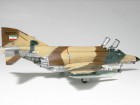
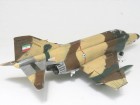
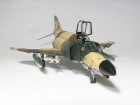
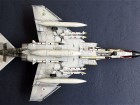
This is yet another Revell F-4F Phantom in 1:72nd. This is my fifth model and is painted to represent aircraft F-4 IRIF (Islamic Republic of Iran). My opinion is the Iranian camouflage is one of the best colour schemes applied to any F-4. (What do you think?)
The ICE Phantom is a major upgrade for the F-4F, and finally gives the aircraft a BVR capability with its APG-65 radar and AIM-120 missiles.
Nice model of one of my favourite subjects, and I was very pleased with the results. Model was built in about 10 days in May and I built it with all restrictions.
In my country is lack of buying facility results in boycott. The boycott is unfair because that causes hurt to all people not to government. (Specially artists)
Mohammad Adl from IRAN 2013 Email address: sm_adl@yahoo.com
I have previously finished two Meng F-4G’s and really enjoyed the builds, the ZM is a great kit highly detailed and accurate as far as I can tell. However I struggled from the get-go with this build and was really pleased when it was eventually finished!
My aim was to build a SEA scheme of this model, the two Meng’s were Desert Storm Grey and the European Grey Green scheme, so this I hoped would be a little different.
The decals were from Xtradecal (X48241) adhered to the model really well and IMO look great. The only other OOB items were Quickboost seats which are my go-too on all aircraft.
I am reasonably pleased with the end results, despite my struggles, it looks good up against the Meng offerings.
Time for a change from F-4’s so 1:48 Airfix Fairey Gannett, and Sea Fury next on the bench and maybe a 1:48 FAA Seafire, which is a completely different direction and looking forward to the builds!
Richard A.
Really impressed with this model!
parts fit were excellent with very little filler needed, having recently built the Tamiya 1:48 F-4B I actually enjoyed this build more, both are great kits but the Meng seems to go together that much better.
Everything was OOB except the ejector seats, which are IMO the weak aspect of the kit, which is why I opted for Quickboost seats to replace them. Decals are superb and found the cockpit decals are a great fit using Micro Sol and Set, using a hair dryer to help adhere them to the cockpit panels.
I have bought a second Meng F-4G simply because I enjoyed the build so much, but have a few other F-4 projects to do first lol.
Richard A.
Basically straight out of the box build wise, apart from Quickboost seats, which are my go-too, I leave the raised panel lines on the kit as they simply don’t bother me like some, but everybody has their particular niche way to build. Also added quite a bit of wiring in the cockpit which looks good on the finished kit.
Richard A.
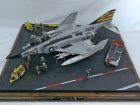
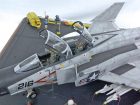
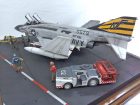
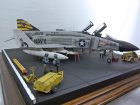
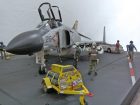
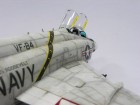
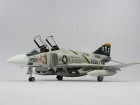
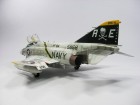
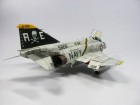
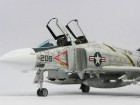
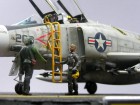
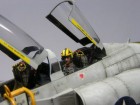
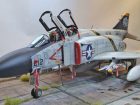
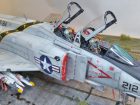
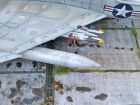
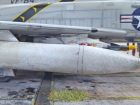
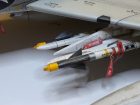
This is one of my own aircraft dioramas – it’s in 1:32nd scale. The F-4J Phantom is Tamiya’s lovely model of the US Navy variant.
The scene depicts an F-4 of VF-151 “Vigilantes” onboard USS Midway CV-41 circa 1979 about to be prepared – flighted etc, before being launched on a CAP mission.
Hope you like it?
Ian R.
The cockpit and ejection seats were enhanced with Quinta Studio’s 3D decal sheet and using these products for the 1st time, I found them to be a revelation, being easy to use and producing a very pleasing, realistic result. The paints used were AK’s Acrylic 3G Special Set, US Navy & Marine Corps Aircraft Colours 1945-1980. These were thinned with Tamiya X-20A Thinners and sprayed quite nicely. The same company’s Extreme Metal was used for the metallic areas of the kit. To replicate the canopy seals, I used a New Ware “Advanced” Kabuki Mask Set. Weathering was carried out using various oils and pastels. Decals were those supplied with the Kit.
This is the Tamiya 1:32 kit, which is starting to show its age, not sure why they include the screws for fitting, but anyway, she went together rather painlessly. I used resin ejector seats and engine cans, with quite a lot of Eduard brass in, the pilots were from PJ productions, again my thanks to Jenifer @ JS miniatures for the lighting rig, and programming the chip.
Main decals were from the colourful F-4J Phantoms, very nice, more than could be said for the kit decals, they were dreadful, and I had to delve into my spares box, good old spares.
The armaments were Eduard but only the Sparrow and Sidewinders, I was going to use the Eduard kit on the bombs but the kit ones worked nicely. She was all painted using Tamiya paints.
Mike T.
This is the beautiful1/32nd scale Tamiya kit. It’s almost entirely from the box, the only exception being the Eduard cockpit set. Paints used were a mixture of Vallejo, Xtracryllics and Tamiya. The decals are from the kit and I had not seen them applied to a kit in any scale until I used them on mine.
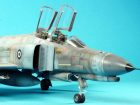
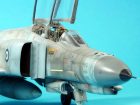
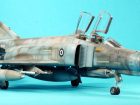
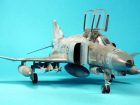
I had already built a Tamiya 1:32 F-4J into the same scheme, so this 1:48 build would compliment the bigger Tamiya nicely, and also give me a reason to build the Academy, which had been sat in my stash for a while and was being passed over for my Meng and ZM F-4’s. The Academy kit is still a really nice kit, builds very well, and with minor modifications can be adapted to the F-4J(UK) very easily.
My challenge was to get the colour right, as I wanted to replicate ZE350 as it was delivered from San Diego, and remained in the Blue/Grey scheme, until 74 Sqn moved over to the FGR2 in 1991/2. I ultimately chose Vallejo RLM65 as the closest match, and after adding a little white seemed to do the job.
The 74 Sqn decals came from a redundant set from a 1:48 Italeri kit and a part set of decals I acquired from the ZM 74 Sqn decal set, which had ZE350 crew names (Wg Cdr Northcote [who has written the Foreword in Geoff’s book!]) and stencils I needed.
The only other OOB addition were Eduard MB Mk.7 seat belts which I added to the kit seats and really improve the kit.
I thoroughly enjoyed the project, using the Vol 3 ebook was a huge asset and gave me some great shots of the F-4J(UK) especially ZE350, with its heavily weathered appearance and also excellent tips and build advice on this particular subject.
Next up, time to do something other than an F-4, and I have an Airfix 1/48 Royal Navy Blackburn Buccaneer, which it crying out to be built.
Richard A.
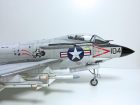
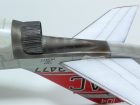
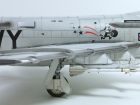
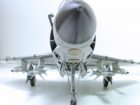
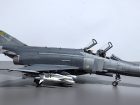
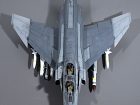
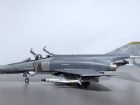
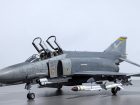
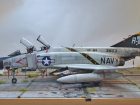
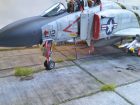
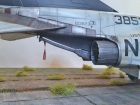
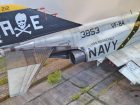
Aftermarket: Barracuda Studios resin wheels, Barracuda decals and cockpit stencils.
Painted with custom mixes of Tamiya acrylics. Weathered with oils and enamels.
See www.jimsmodels.com
James DiCesare (Dickerson)
Galleries: A | B | B-2 | C | D-E | F | G | H | I-L | M | N-R | S | T-V | W-Z














Paul Ainsworth says
Superb work as always,Martin.


Michael Lee Smith says
That looks great!
I won this kit at my model club raffle, thanks for the inspiration to get to work on it!