Welcome to the Subscribers’ Maritime Gallery.
Each submission has a ‘gallery’ of thumbnails which you can click on to see an enlarged image and read the short text describing the model – enjoy!
A – G | H | I – S | T – Z
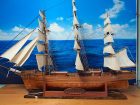
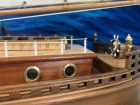
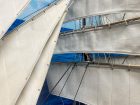
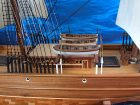
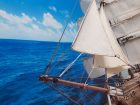
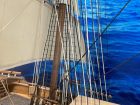
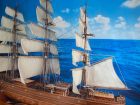
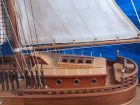
Made templates from the scale model and re-scaled everything to 4 times larger. I enjoy building replica models with the freedom to create my own design concepts, as you can see by the stern and aft of the model.
Finished size is 54” tall, 62” long, not sure what that is in mm. Being that I’m a cabinet maker by trade, I have decided to build this as an art piece, rather than being realistic.
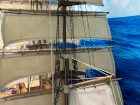
I have used many species of wood on the project, which are all there natural colors, all clear coated. Also used a lots of brass, and fabric for sails.
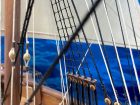
This was a fun build, started it in 2007, but sometimes it has been on the back shelf for many months at a time. The rigging was the most time consuming for me, not 100 percent accurate, but looks good to me.
Raymond Way
Just to finish it off it’s fully radio controlled!!!
Thanks Werner and keep up your extraordinary work. G
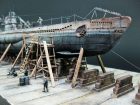
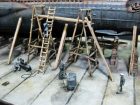
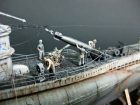
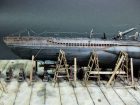
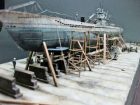
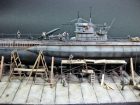
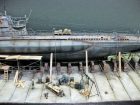
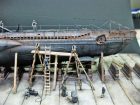
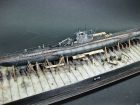
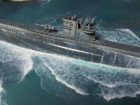
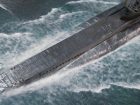
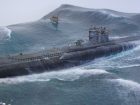
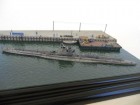
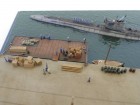
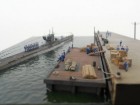
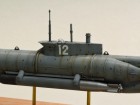
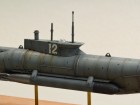
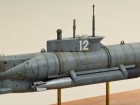
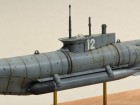
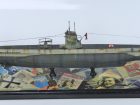
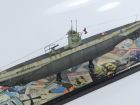
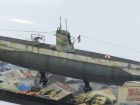
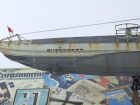
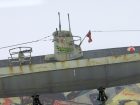
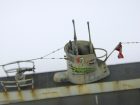
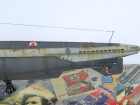
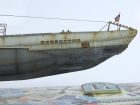
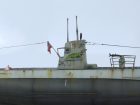
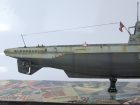
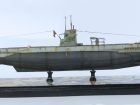
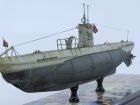
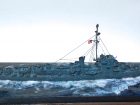
The assembly was straightforward with just the torpedo propellers requiring some care in removing from the sprue and subsequent cleaning up. Three grab handles made from thin wire were added to the hull and conning tower. Some lines were engraved around the torpedoes at the front and rear.
I found a suitable clear bubble from a spare missile tip, to replace the solid kit observation dome. The sub and torpedoes were sprayed with Humbrol gloss grey and then shaded with a lighter Medium Sea Grey.
When all this had dried, Klear was sprayed overall to protect the enamel paint. A wash of burnt umber oil paint was applied, followed by some paint chipping with dark grey paint
I added some rust stains by applying spots of burnt umber oil paint and then dragging them down using a dry brush. The model was then sprayed with a coat of Humbrol matt varnish.
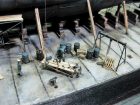
A wooden base was made up, with brass rods for supports. A most enjoyable project!
Roger B.
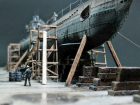
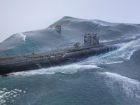
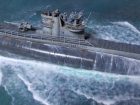
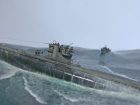
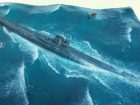
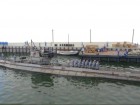
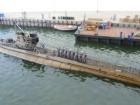
The build was pretty straightforward and for painting I opted to use the Lifecolor Kreigsmarine set number 2, U-boatwaffe and my advice is to only thin these paints with their own thinner. It went down beautifully and I would advise is to let it fully cure over night; it’s fragile and it chips really easily.
Ok once painted it was time to get busy weathering and rusting, I firstly sprayed the streaks down the hull sides using the hull colour slightly lightened then going a little darker here and there to give a random unevenness. Then Mig Light and Dark Rust streaking enamels. I did spray a little Future on the conning tower so I could apply the decals they were a little on the thick side but went down without any drama then a quick squirt with some matt varnish. Add a little more rust streaking and that was pretty much it, just flags and aerials wires to add, the flags are made with very very thin lead not the stuff you buy from model suppliers this stuff comes from rolls of lead I use in my every day job as a lead worker. The aerials are made using fine Easy Line and the insulators are small blobs of white glue painted to look like wood.
Hope you like it?
Mark H.
I’ve done mine in Dark Blue and Haze Grey as I read on the internet that documents have now been found that confirm Arizona was repainted in blue prior to the attack on Pearl Harbour. Hope you like her.
All the best, Mike Moore
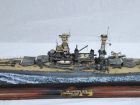
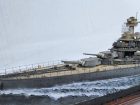
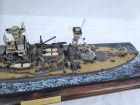
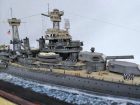
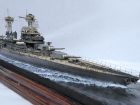
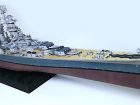
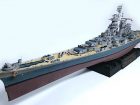
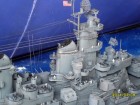
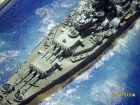
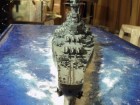
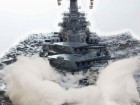
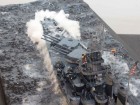
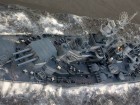
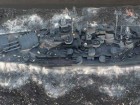
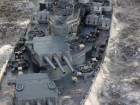
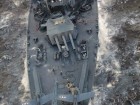
The instructions are very poor, nothing like any other multimedia kits and the hull, and superstructure cast resin parts required a lot of clean up and filling (pin holes everywhere).
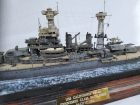
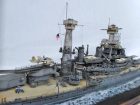
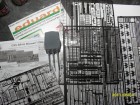
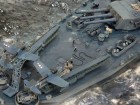
So basically, I replaced the main gun barrels with turned brass examples, a little scratch-building of small parts and replaced the etch bar cage mast parts with etch from White Ensign Models to correct kit examples.
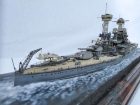
Anyway, the finished project represents the vessel in December of 1941 just before that fateful day on Sunday December 7th 1941 where she was based. California was sunk in the attack but re-floated and repaired enough to sail back to US and be fully repaired and modernised returning to the fight in the Pacific.
Ian R.
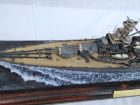
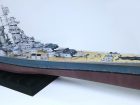
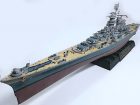
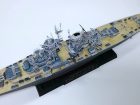
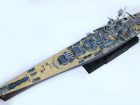
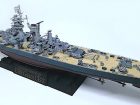
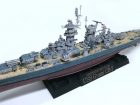
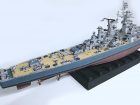
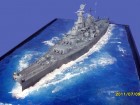
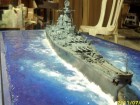
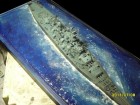
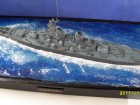
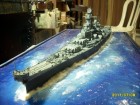
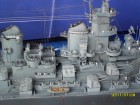
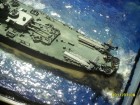
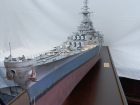
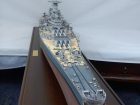
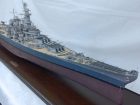
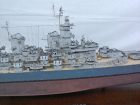
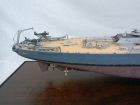
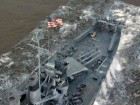
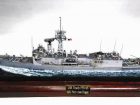
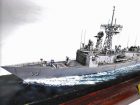
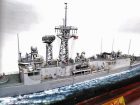
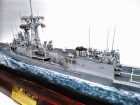
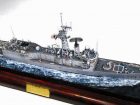
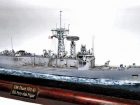
The model was built for a colleague who wanted a wooden deck fitting even though the actual ship’s deck was painted deck blue, he also wanted the kit stand used and two additional ship’s boats adding even though she only carried two.
Ian R.
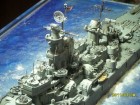
I also replaced and added some of the parts in the masts and ECM aerials which I scratch built that are on upper superstructure.
At over 50 inches in length it’s very impressive as to actual vessels and having seen one of these when I was in the States (modernised version) it was impressive.
Ian R.
