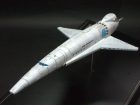
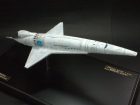
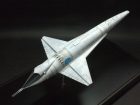
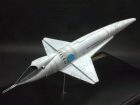
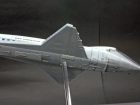
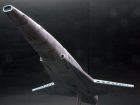
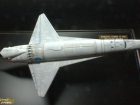
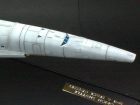
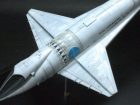
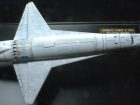
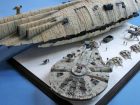
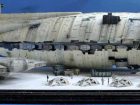
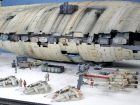
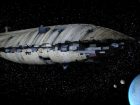
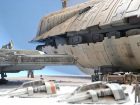
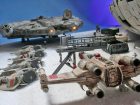
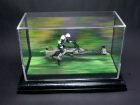
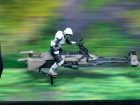
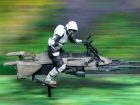
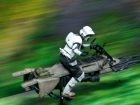
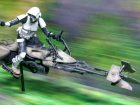
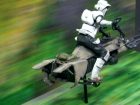
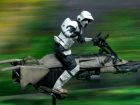
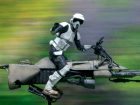
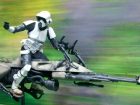
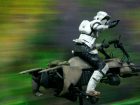
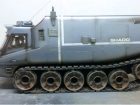
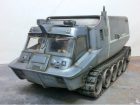
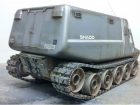
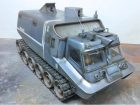
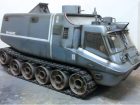
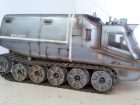
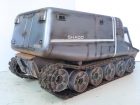
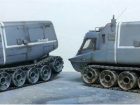
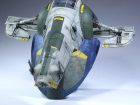
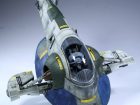
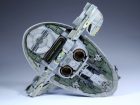
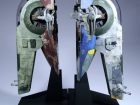
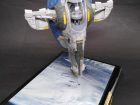
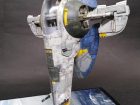
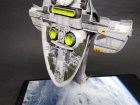
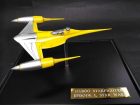
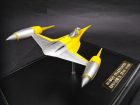
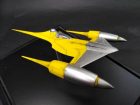
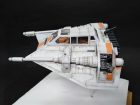
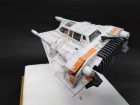
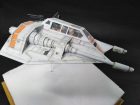
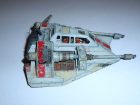
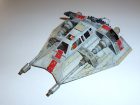
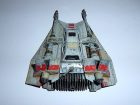
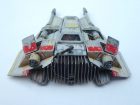
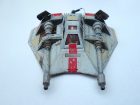
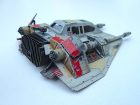
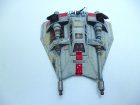
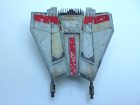
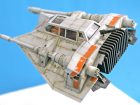
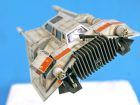
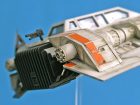
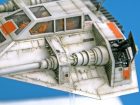
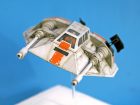
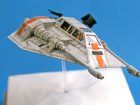
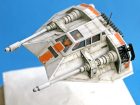
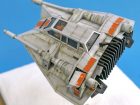
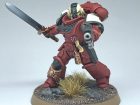
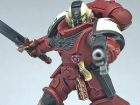
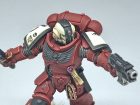
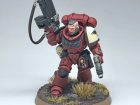
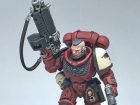
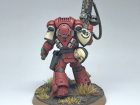
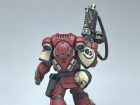
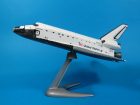
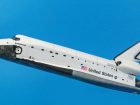
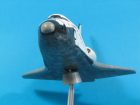
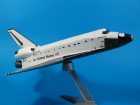
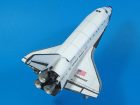
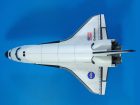
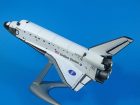
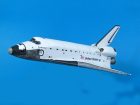
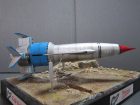
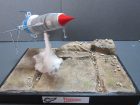
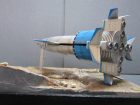
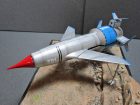
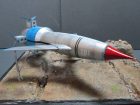
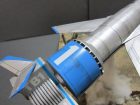
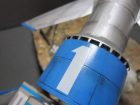
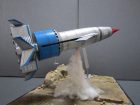
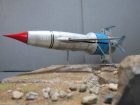
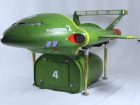
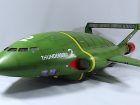
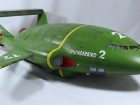
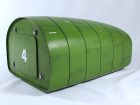
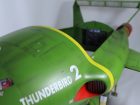
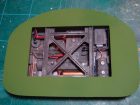
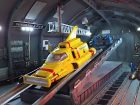
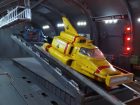
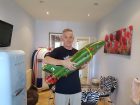
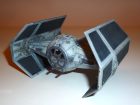
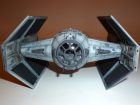
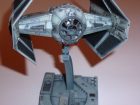
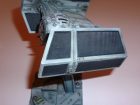
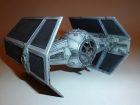
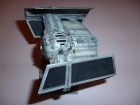
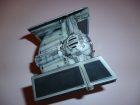
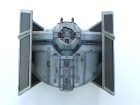
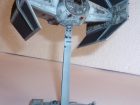
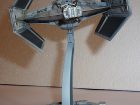
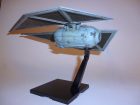
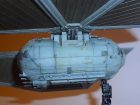
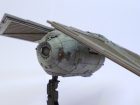
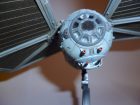
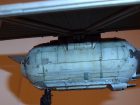
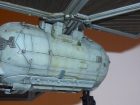
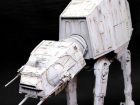
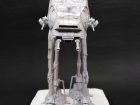
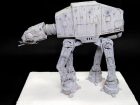
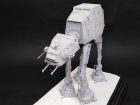
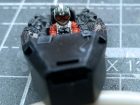
I basically built the kit out of the box with the exception of a stand (provided in kit), I replaced this with a simple brass rod as the finished model is quite heavy for its size and the brass rod would be more secure. After priming, the parts were painted and then weathered using oil paint pin washes. The background is a printed image from Coastal Kits ground blur range of printed backgrounds.
Ian R.
Mamas P.
Great job John!
I can’t say enough of how good this company’s products are, level of detail on parts, fit and design of build up of parts all fit together perfectly with no filler required.
Ian R.
This is a resin product that deserves some attention, the grass work you have to do yourself and the cockpit cover is very fragile. For the rest it is a nice model to make.
Hope you like it…
Gerhard La C.
All you have to do is follow the assembly instructions and create an amazing paint job, the kit comes with a couple of markings options and the decals don’t disappoint either as they settle onto the parts without any carrier showing. Two beautifully moulded crew are provided in seated positions and once painted will look cool in the cockpit.
Best wishes, Ian R.
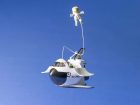
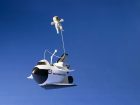
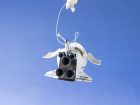
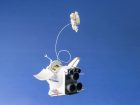
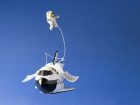
As a kit it was an easy build and it goes together very well and is full of character. To me the highlight has to be the figure enjoying the feeling of weightlessness while doing a ‘Spacewalk’. This is very cleverly depicted by a length of wire that comes with the kit allowing you to pose him/her in any way you wish.
The cargo bay has a ‘load’ a drum shaped experiment piece or maybe a spare part for the space station. Colour call out for this is white but I decided to use a bit of artistic license and depicted it as a silver body with gold panels on the outer edge.
Other than that, the whole thing was painted black and white using Stynylrez primers which were then glossed over with varnish before decals. For a slight contrast, I used Tamiya NATO Black for the engine nozzles to give them a slightly greyer look. The figure was brush painted using Vallejo Ivory to make it different to the shuttle. This had a thin wash of black ink to bring out the lovely detail. The gold visor on the helmet is DarkStar Polished Brass.
The decals are superb and work perfectly saving lots of masking around the ‘windscreen’ and the vertical tail.
Caricature kits like this are not everyone’s cup of tea but they are immense fun and highly recommended.
Graham T.
“Warhammer 40,000’s space fantasy is set in a fictional future during the 41st millennium AD. Its various factions and races include the Imperium of Man, a decentralised yet totalitarian interstellar empire that has ruled the vast majority of humanity for millennia, the Orks (similar to Warhammer Fantasy Orcs), the Eldar (similar to Elves in Warhammer Fantasy Battle), and Daemons (very similar in both the Warhammer 40k and Warhammer Fantasy Battle universes), among others. The background and playing rules of each faction are covered in the game’s rule books and supplemental army ‘codex’, along with articles in the Games Workshop magazines, White Dwarf and Imperial Armour. The game’s miniatures are produced by Citadel Miniatures and Forge World” (Source: Wikipedia).
Anthony M.
I used a mix of New Ware paint masks, which needed altering as they are designed for the Revell kit, Revell decals and Wolf Pack Shuttle tile set. Tile set fits well, but lacking detail for the cargo bay sides and Nomex blankets for the nose and OMS nacelle areas.
I will choose a different set for a planned 1:72 build. The stand is temporary as the Shuttle will fit back on the external tank and boosters.
Mick S.
The painting is is mostly with MIG products, the primer was AMMO One Shot Primer Grey and the pre-shading black, highlighting the panels with Grey Shine, and the base coat with Grey Shine diluted with MIG Transparator (40/60 %). The cockpit was painted in Schwatzgrau.
After the base coat painting the whole model was given a Aqua Gloss Clear coat, also with he airbrush.
Then I used a filter Dark Grey for White to do some panels of the TIE, and after that I used some AMMO Star Ship Bay Sludge for the fading of some panels.
Then a highlighting with an AMMO Oil Brusher White for some other panels.
The panel lines where done with a Starship Wash and the excess was done with
a damp brush with Enamel Odourless Thinner.
The streaking was done with some Starship Streaking, and at last a final coat of
Gloss Clear and matt Lucky Varnish in a mix of 50/50%.
All these steps are in a Solution Book from MIG (AMMO) How to Paint Imperial Galactic Fighters. You can used it for all the TIE Fighters, and also for other modelling.
Greetings,
Gerhard La C.
As my previous notes regarding Darth Vader’s TIE Fighter, these excellent little kits are designed to be snap-together. The surface detail on the Interceptor is just as good.
- The cockpit was detail painted and assembled, together with the pilot figure
- I then carefully glued together the individual assemblies; cockpit and central pod and left and right wings
- The black pre-painted radiator panels were masked off and the cockpit front and top openings blanked off
- The entire craft was then sprayed with Humbrol 196 light grey
- When completely dry the model was given a wash of Tamiya Smoke (X-19) thinned 1:1 with water; this brought out all the surface detail
- The masking was then removed and the wings glued to the central pod
- The front glazing and top glazing were then glued in position
- All that remained was to paint the tips of the two laser cannons red and the four blaster cannons black.
Seinar System’s TIE fighter—a commodity which, after hydrogen and stupidity, is the most plentiful in the galaxy.
Roger B.
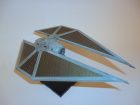
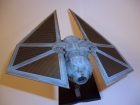
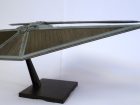
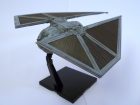
A few months ago I finished the 1:72 TIE Striker of the Ban Dai Star Wars series.
It was painted with Tamiya paints and a bit more weathered, because the film Rogue One is not really in space.
I used some washes, from the MIG brand and solar panels were airbrushed in a metal color and finished with a dark wash at the end.
Greetings, Gerhard La Crois
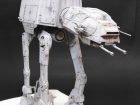
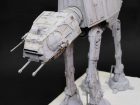
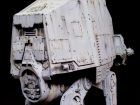
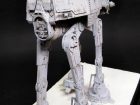
The legs can be positioned how you like as well as the head, a cockpit with 2 pilots is included but are impossible to see. The finished item is 7 1/2 inches long by 7 inches tall, not as large as original MPC/Airfix release at time of first appearance of these in The Empire Strikes Back. Speaking of which I found my original looking the worse for wear when clearing my parent’s house, all parts were present… think I’ll clean it up and rebuild it at some point soon.
Ian R.
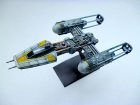
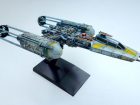
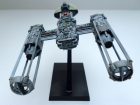
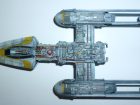
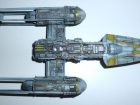
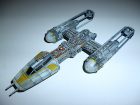
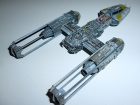
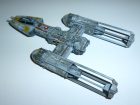
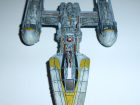
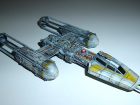
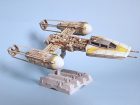
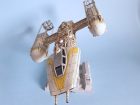
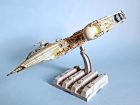
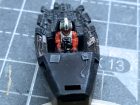
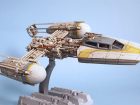
Have now finished a Bandai Y-Wing in 1:144, as you know it is a simple ‘snap-fit’ kit, but a very good one.
The fit is perfect; I have not used the stickers so all the parts are airbrushed with Tmiya paints and the piping and other little things with Vallejo paints and sometimes the good old paints from Humbrol.
Weathering is done with some oil brushers from Mig/Ammo.
The most time consuming part of this little model is the paintwork.
Greetings, Gerhard La Crois
Sci-Fi/Space Modelling Areas
Home | Finished Now | Build Now | Subscribers Gallery | Here Now | Techniques Bank
