Decals
with Geoff Coughlin
(with thanks to Paul Barlow for his suggestions and help with this entry – thanks Paul)

What on earth am I thinking?
You could be forgiven for reacting like that but occasionally, very occasionally I just look at one of my models, like this Hong Kong Models (HKM) Gloster Meteor Mk.IV in 1:32 and hate it! Well, the finish and the fact that some ghost seams (see your SMN Techniques for more on that and how to remove them) have started to show up.
VIDEO DEMO
The reality is, either the model never sees the light of day again or I do something about those pesky joins and markings that I just don’t like. Don’t misunderstand me, I love the look of the Belgian AF Meteors, just not how I tackled this project and this means that the decals and joins have to go!
A short voyage of discovery
Removing decals – my advice right up front…
I’ve never really successfully been able to remove decals from the occasional project where I’ve tried it. Then I saw one or two posts on social media where guys have suggested using Micro Sol decal softening solution. And guess what – it works a treat.
What follows is a short journey of discovery before I settled on this method:
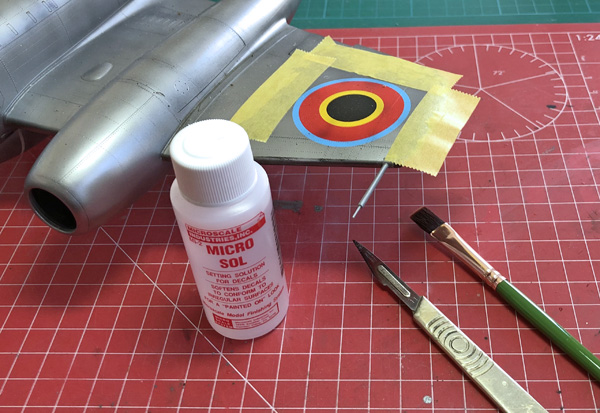
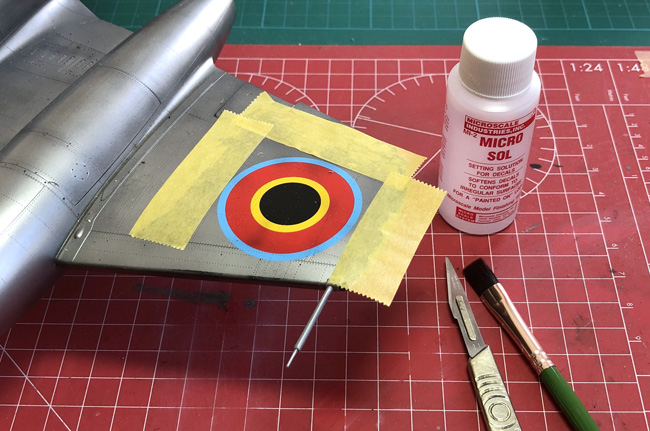
1. Apply Microscope Micro Sol (MS) decal setting solution to your decals – a few areas at a time so that you can work on some while others are softening. Apply plenty of MS
2. Leave the MS to get to work on an area for at least 5 minutes
3. Using a new scalpel blade and plenty of water gently work the decal edges with the cutting edge of your scalpel at a very acute angle to avoid cutting into the plastic. Remove small sections of decal and regularly rinse in water to remove the excess decal as it comes away
4. Wipe away any residue and repeat for any small areas that you may have missed.
And that’s what I recommend as my No.1 approach now.
