Display bases
By Bill Curtis
A note from Bill…
For a more detailed description check out the T35, Chaffee and the Italian L6/450 articles you’ll find in Finished Now.
Here’s the short version
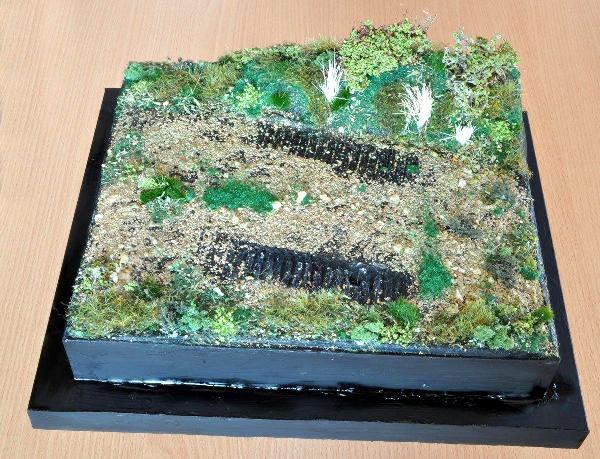
It was made by cutting plastic card to raise the height of the base by building a rectangle which was mounted on a piece of contiboard.
This had been edged with iron-on surround and the centre of the rectangle filled in with polystyrene.
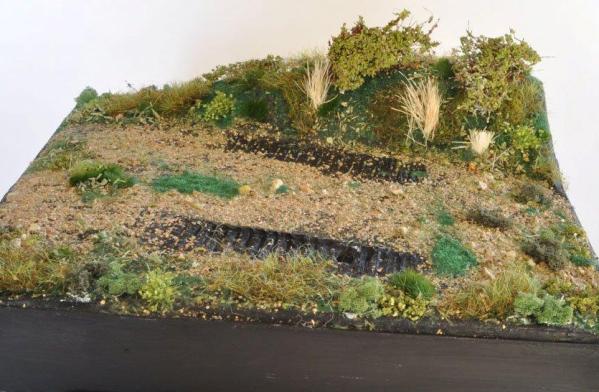
Poly filler was then added to the top and with some off cuts of polystyrene a bank was formed and covered with plaster which was then allowed to dry.
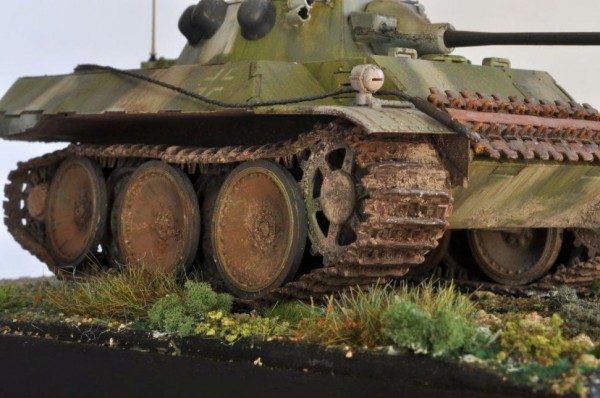
Just prior to the filler going off the Leopard was pressed into the plaster to imprint the tracks from the edge of the base to its position in the centre.

When dry the whole base was painted with Tamiya matt black and left to cure.

PVA adhesive was brushed over the top and then grit and small stones were applied to the track area and green nylon fibres to the grass areas. I allowed this to dry and then applied another coat of PVA adhesive and water mix to seal it. Again left to dry and then various bits and pieces were stuck to represent natural growing plants and grass. I had some rubberised horsehair and cut two pieces into irregular shapes and applied some PVA with a brush to one side only and then dipped each in turn into a container of leaf material. Hey presto we now have a small bush or brambles. These were then stuck on top of the bank.
PVA was applied to the track impressions and the tank positioned and allowed to harden into place.
A point to remember when making groundwork is to make sure that the vegetation looks irregular as nothing in nature is symmetrical.
As mentioned above, for more detail description check out the T35, Chaffee and the Italian L6/450 articles.
Good luck!
Bill C.


