Let’s have a look at using the Ultimate Normal Decal Solution…
Target project: Airfix 1:48 Messerschmitt Bf 109E-4
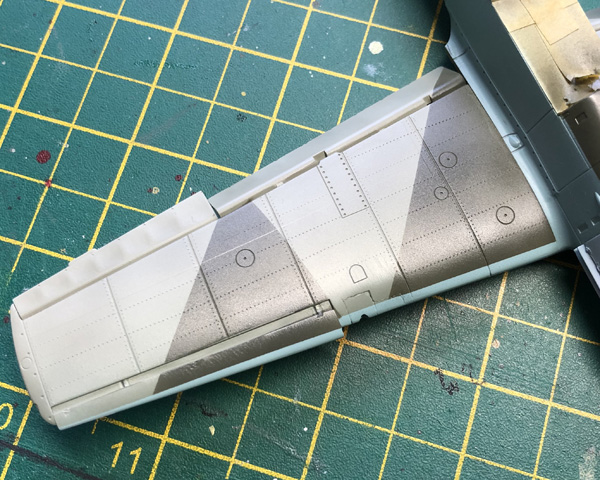
Stage 1 above. The model has been sprayed with MRP acrylic lacquer paint and left to dry overnight
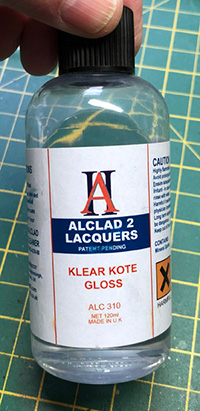
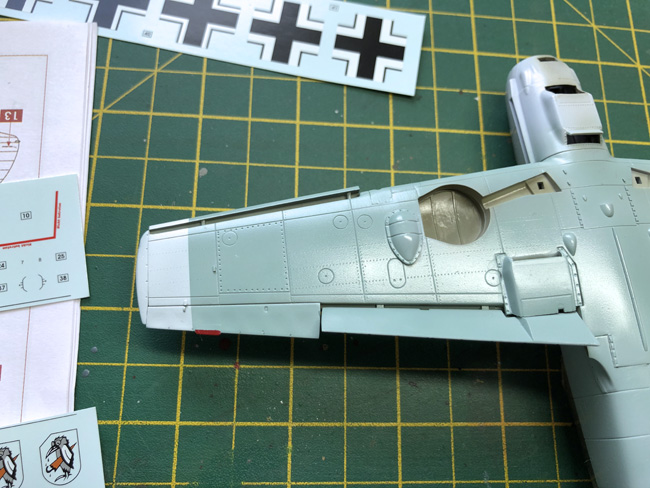
Stage 2 above. Alclad2 Klear Kote Gloss is sprayed to gloss up the surface
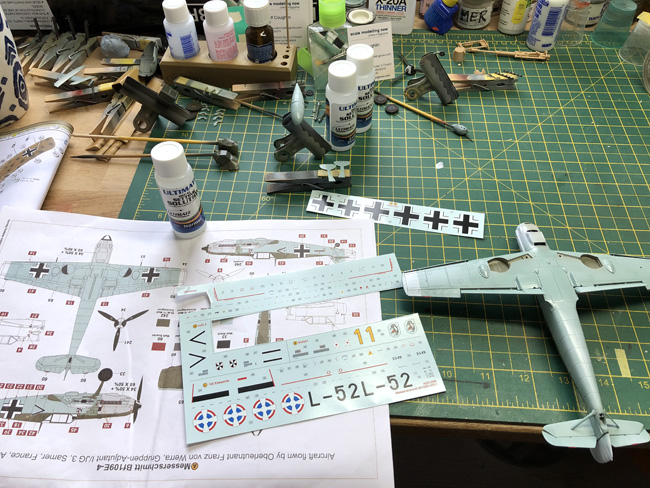
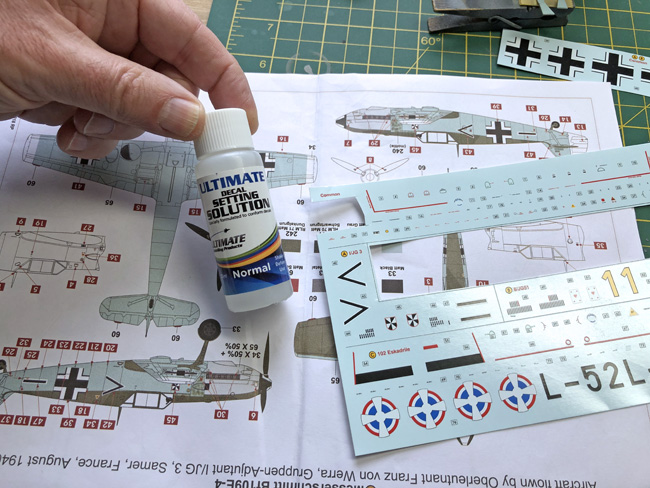
Stage 3 above. Prepare your decals for application
HD VIDEO DEMO
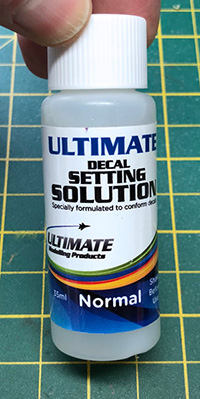
Stage 5 above. Ultimate Normal Decal Solution applied to area and on top after application
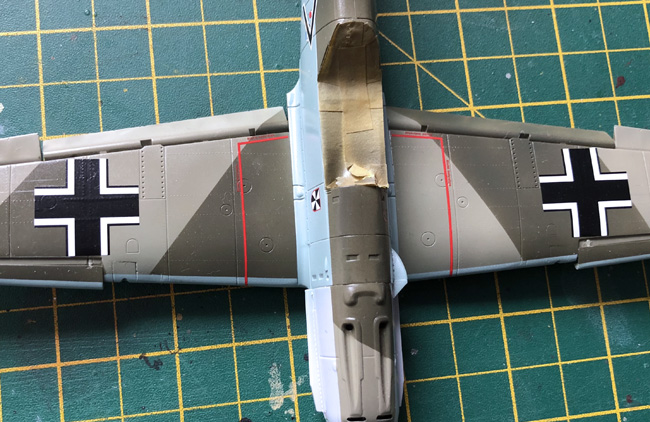
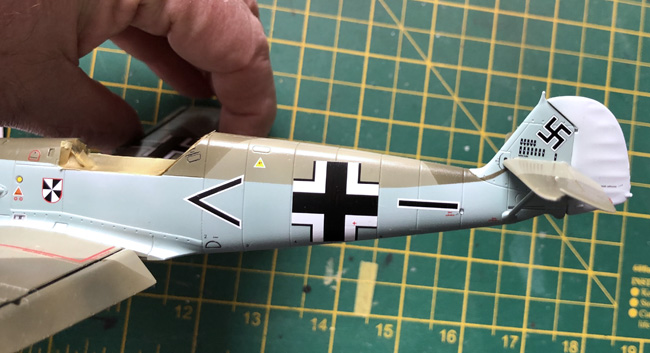
Stage 12 above. The decals are positioned on their gloss surface and left for 24 hours to dry thoroughly
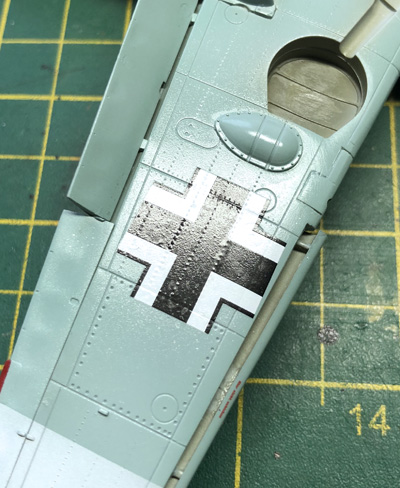
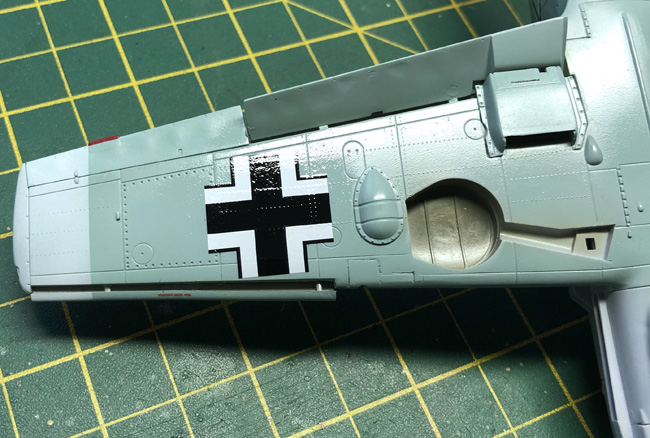
Stage 15 above. The decals have drawn down into the moulded detail and dried thoroughly. Now a further coat of gloss varnish is applied to seal in your decals
HD VIDEO DEMO
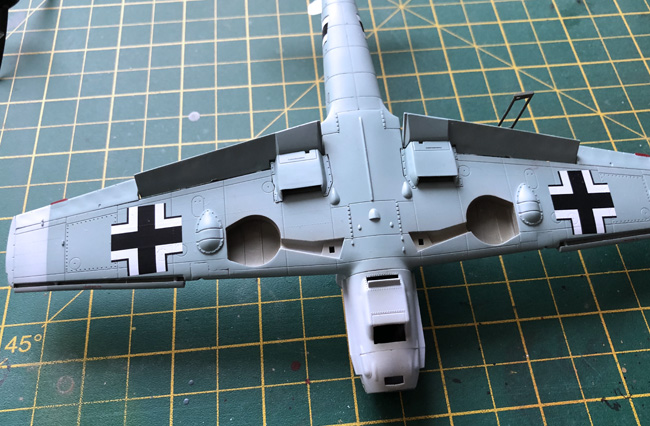
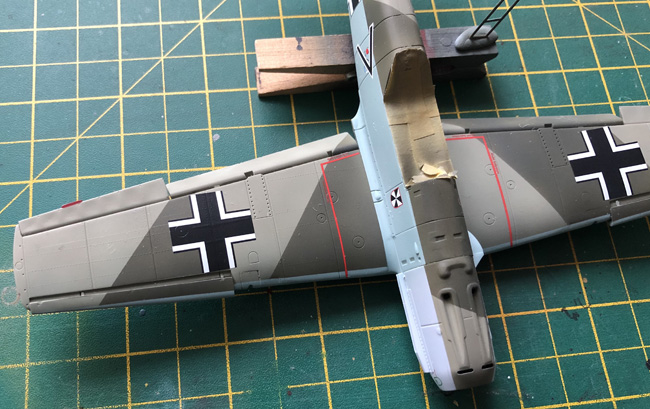
Stage 17 above. A coat of flat varnish has been applied to the model to form the base for weathering and in this case mostly using pastels and weathering powders that need a flat or flattish finish to work well.
Closing thoughts…
The Airfix decals are quite thin in this kit, which is good and the Ultimate Normal decal solution worked well. I did use some Strong after initial decal application to help a few markings really go down more fully. There was no need to use the Extra Strong this time but I would definitely use it for thicker, stubborn decals that just don’t seem to realise that they need to draw down! Lol!.
Good luck…
Geoff C.
Ask a question or add feedback:
You must be logged in to post a comment.