Pastels
with Geoff Coughlin

Options, options, and more options!
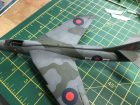
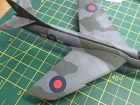
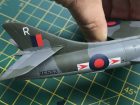
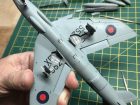
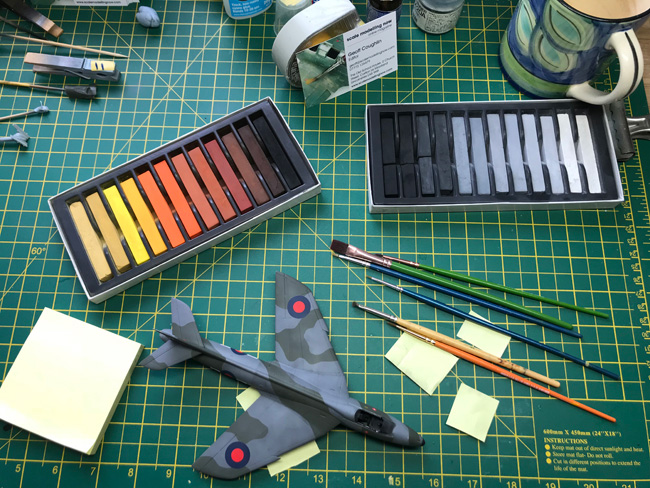
Here is just another option that you can choose to use to simply and quickly weather your model subjects and in this entry in you SMN Techniques Bank we’ll be looking at how to weather a 1:72 scale Hawker Hunter FGA.Mk.9.
This piece contains 3 slightly longer HD video demos taking you through all stages of the process – at least my process! There are variations on how modellers use artists pastels and I’m just showing you what I do.
I love the effects that you can get quickly and simply that enable you to create realistic and authentic scale model finishes that cost hardly anything at all once you’ve got a set of pastel chalks and that have an infinite number of variations that you can create.
So what are pastels?
This may seem obvious to some of you and equally I have been asked this question a lot at model shows and so it’s worth being clear what we’re using here.
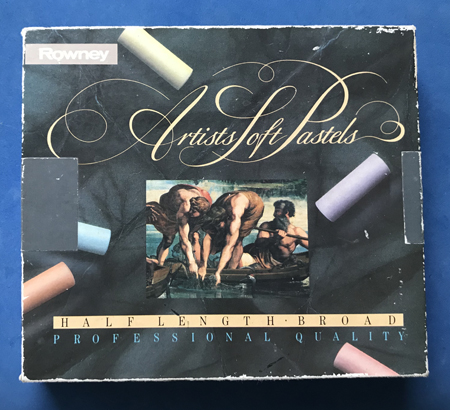
Pastels are (usually) oil-based sticks that look a lot like sticks of chalk. The pigment is usually much finer than chalk and you can buy these pastel sticks individually in just about every colour of the rainbow and everything in between! They are used by us modellers of course as you’ll discover below but more commonly they are used by ‘mainstream’ artists to create artworks like pictorial landscapes, portraits and everything in between.
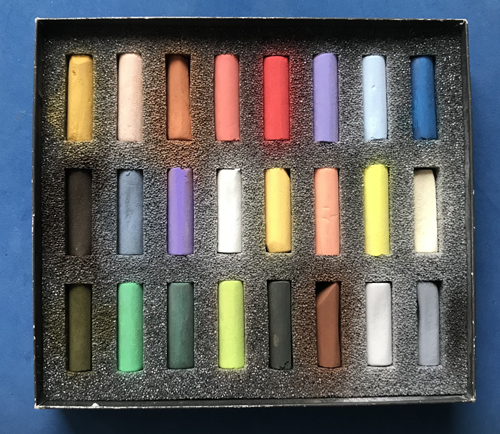
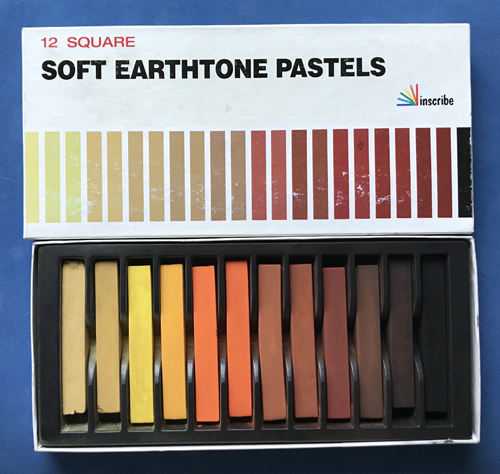
If you don’t have any pastels yet, then think about buying a starter set (see video 1 below) that has about 12-15 basic colours, there’s likely to be enough there to get you going and suitable for many subjects.
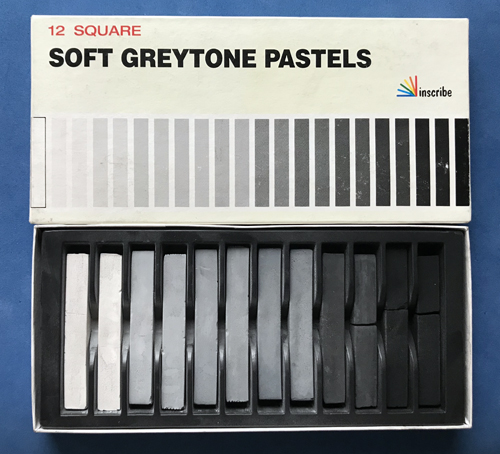
Equally, you can buy sets from just one colour palette and here you can see that I have a grey set and one for many shades of brown – ideal for military subject weathering.
The subject of this demo
Although we’ll be using the excellent Revell Hawker Hunter FGA.9 kit in small 1:72 scale and applying this approach to an RAF subject you can of course use it on many, many subjects, from Sc-Fi craft, Warhammer and Fantasy projects through to armour kit builds – endless options and possibilities :)
Check your references
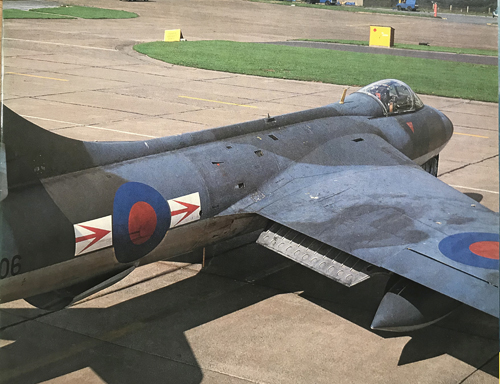
The specific aircraft I am building is one of the last of the Hunters in RAF service and as such they had pretty faded paintwork and a dead-flat finish to the camo. I love this because it makes an ideal subject for this demo using pastels that work very well on flat surfaces, not at all really on gloss finishes.
Regular checking of photos you are using for reference will pay dividends and make sure you know when to stop weathering! It’s easy to overdo the effects you can get with pastels and so try to adopt a ‘little is more’ approach.
Tools and materials you’ll need
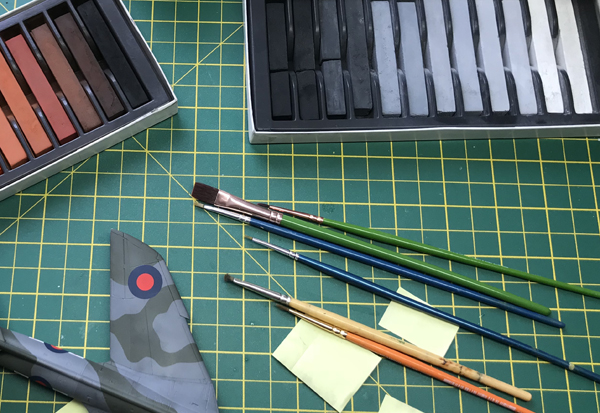
Here is a short list of the few tools and materials you can use for this approach:
- a set of pastel chalks – to create the faded and weathered paintwork effects
- a selection of paintbrushes – to apply the pastel pigments to your model – I strongly recommend that you keep a set of brushes just for this task; they need not be expensive and will last a very long time if kept for this sole purpose
- a small pad of Post-It (or other brand) of sticky notes – they need to be very low-tack which is why I use the Post-It brand – many others are available too. These notes are used as masks for panel line shading and creating faded effects and contrast between panels.
How do you do it? – Watch these Video Demos…
The easiest thing to do is watch the following HD videos – there are 3 of them taking you through the various stages of the process. They also include plenty of tips and do’s and don’ts to help you as well – hope you enjoy using this approach as much as I do.
In Summary
Here’s a summary of some of the key points when using pastels to weather your models:
- Remember… less is more. Pastels (the common oil varieties) are usually pretty permanent and once applied aren’t easy to remove
- Pastels are best applied to a flat or semi-flat finish – they simply work better on matte surfaces because the pigment has something to cling to
- Apply the pastels lightly and subtly, adding more pastel pigment if you need to
- Apply the pastels before attaching all the sub-assemblies – you want to avoid damaging delicate parts and it’s easier if you pastel before adding them
- Frequently check the effects you are creating – lift the Post-It masks and see the effect you are creating, going back to add more pigment if needed
- Keep checking your reference photos (if using them), it’s easy to get carried away and add streaks and weathering to specific areas of your model that just aren’t there on the real thing
- Don’t apply varnish over your pastels – your lovely subtle effects will disappear! Just take care when handling your model.
Although my Hunter isn’t finished yet, you can see the pastel effects building up – a bit easier to see on the videos perhaps, but by now you should have a really good idea of what you need to do.
Then, it’s practice, practice and practice… as with all the techniques you’ll find in your SMN Techniques Bank.
Good luck!
Geoff C.
