Things you’ll need to remember from the off
- This is a solvent-based product and you’ll need to make sure you spray in a well ventilated area using an extractor fan, wearing an appropriate mask so that you don’t breathe in the vapours
- You will need an undercoat – the lacquer adheres much better if you do (I’ll go into this in more detail later so don’t worry). Suffice to say here that the Regular Alclad finishes (see below) are similar in strength to lacquer/cellulose car paints. When using the High Shine Alclad lacquers (again, see below for a list) you will need a shiny undercoat
- You need to use a solvent airbrush cleaner to clean your airbrush, which you should always do straight away after use
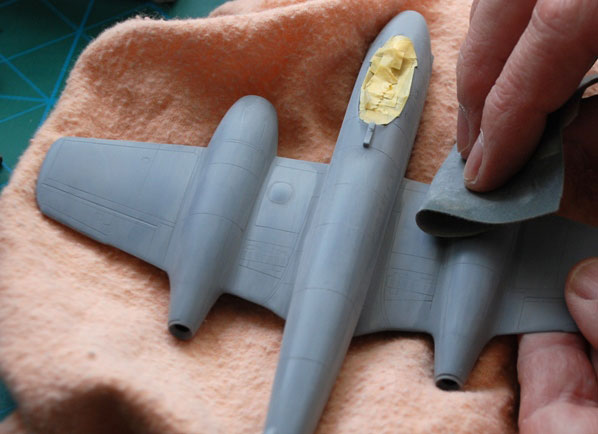
- You should try and get hold of a small pack of Micromesh polishing cloths for polishing your undercoat before spraying your metallic lacquers – it’s good to have a smooth finish
- Preparation is everything! Your prep needs to be as flawless as you can get it or any joins, seams, heavy sanding, filling work may become visible on your finished model. If you end up seeing some imperfections, simply buff, polish or gently sand and prepare the affected area again and repeat the process, you should be able to easily blend in any newly sprayed lacquer.


What can you achieve?
I wanted to give you a quick insight into early on into what you can with Alclad II and so what follows is a gallery of models – all of which feature in your SMN that have been finished in Alclad lacquer. Most of these models are complete builds and feature articles located in Finished Now (or your Subscribers’ Gallery) and so it will be worth taking plenty of time to check out those projects because they contain a wealth of information about what specific lacquers/paints were used in each case and will provide plenty of ideas for effects that you should find useful in your own modelling.
We’ve included a Gallery Grid here so that you can view the photos in full size:
Regular Alclad finishes
- alc-101 aluminium
- alc-102 duralumin
- alc-103 dark aluminium
- alc-104 pale burnt metal
- alc-106 white aluminium
- alc-108 pale gold
- alc-110 copper
- alc-111 magnesium
- alc-112 steel
- alc-113 jet exhaust
- alc-116 semi matte aluminium
- alc-117 dull aluminium
- alc-120 gunmetal
- alc-121 burnt iron
- alc-123 exhaust manifold
Apply one of these primers before using regular Alclad:
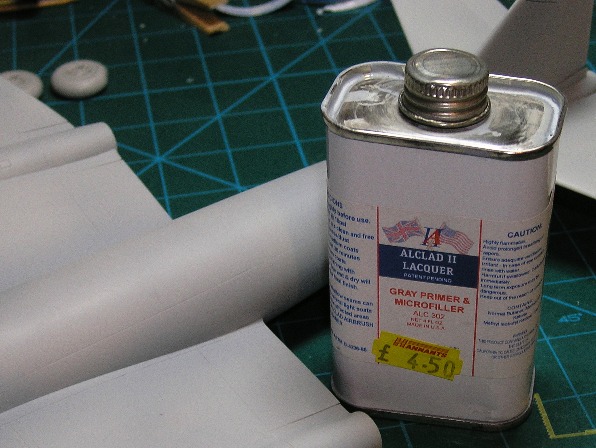
- Alclad alc-302 grey primer
- Alclad alc-306 white primer & Microfiller
- Alclad alc-309 black primer & Microfiller
- Tamiya or Gunze Sangyo plastic primers
- auto primer-white or grey
Plastic primers and auto primers should be lightly polished with 1000/1200 wet & dry paper to give a less absorbent smooth surface .
High Shine Alclad finishes
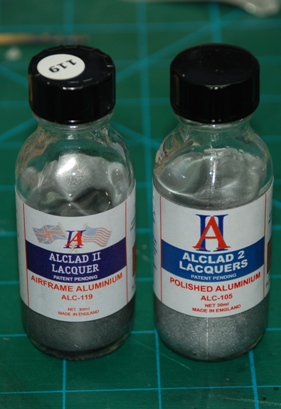
- alc-105 polished aluminium
- alc-107 chrome for plastic
- alc-109 polished brass
- alc-114 chrome for lexan
- alc-115 stainless steel
- alc-118 gold titanium
- alc-119 airframe aluminium
- alc-122 mirrored gold for lexan
Apply one of these primers before using High Shine Alclad:
- Alclad gloss black base alc-304/305
- Alclad clear base alc-303
- Tamiya gloss Black
(Other hobby enamel paints are suitable, although the manufacturer says that it is advisable to conduct a test on scrap plastic – good advice.)
Klear Kote finishes:
- alc-311 Klear Kote light sheen
- alc-312 Klear Kote semi-matte
- alc-313 Klear Kote matte
- alc-314 Klear Kote flat
- alc-600 aqua gloss
In Part 2
In the next instalment we’ll start to look at how you prepare your model for the undercoat, applying the undercoat itself and polishing the base coat ahead of how to spray Alclad II lacquer that will be in Part 3. As I say, I plan to press ahead with these instalments so that you shouldn’t have to wait long for the next one!
Go to Part 2 which includes HD Video Demos
Geoff C.


