How to apply the grey primer
This really is very straightforward, using the primer straight from the can (it now comes in a much easier-to-use screw top bottle!). Be sure to shake your can/bottle very well to make sure the primer is fully mixed up – this is very important.
Options
Remember, you don’t have to use Alclad2s own product – I frequently spray acrylic grey car primer (available from any car repair or parts store). It is much cheaper and spraying from the can usually works very well for larger models but, as ever it’s almost impossible to control, the speed at which the paint comes out of the can. You may find it easier to decant the paint by spraying into a container, collecting it there and transferring to your airbrush (my preferred option).
Decant some of your primer into your airbrush and lay down even coverage in even strokes; it’s good to spray at a shallow angle to get broader coverage. I set the pressure at around 12psi for spraying the grey primer.
Buffing and polishing the grey primer
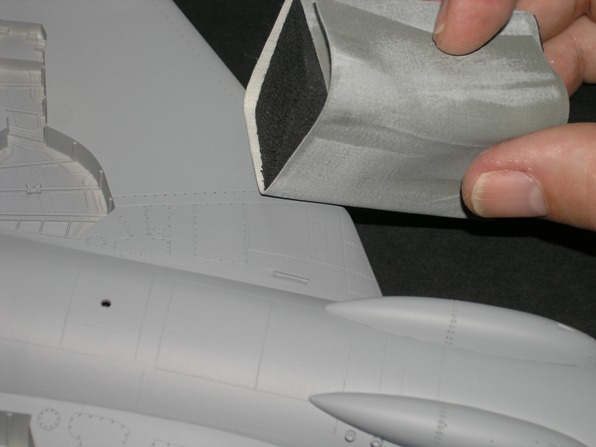
This is a useful part of the process as it creates a really smooth surface for the metallic lacquer to spray onto. It will also take out any minor imperfections in the surface.
Choosing an Alclad2 metallic lacquer
This is where it gets interesting! The great thing is it’s only you who matters now – what do you want – not what does anyone else want… or what exact tone should it be, no it’s all about doing some basic research and making a decision; you can always add other tones to certain areas later and also your weathering. At the end of the day I am always trying to reach high standards myself so that I’m pleased with the end result.
A decent choice for me and this demo for the P-51 Mustang is Alclad2 Duraluminium (ALC-102).
Applying your chosen lacquer
Remember if you haven’t used this stuff yet it is very thin and it is easy to pool the paint and mess up your finish. The easiest way to avoid this is to keep your airbrush on the move; I spray at about 10-12psi for the Duraluminium. Take your time and build up your finish nice and slowly – don’t be tempted to apply the lacquer in one thick coat – it’ll end in disaster. Take a look at what I am doing in the next clip and you’ll see how straightforward application is.
A little light buffing
Once the Duraluminium is dry it can be lightly buffed and polished using a clean soft duster – don’t go mad, but it will remove any metallic dust residue and you begin to think about any special effects and tones. We will cover some of my favourites in Part 3
Creating a really shiny chrome-like finish
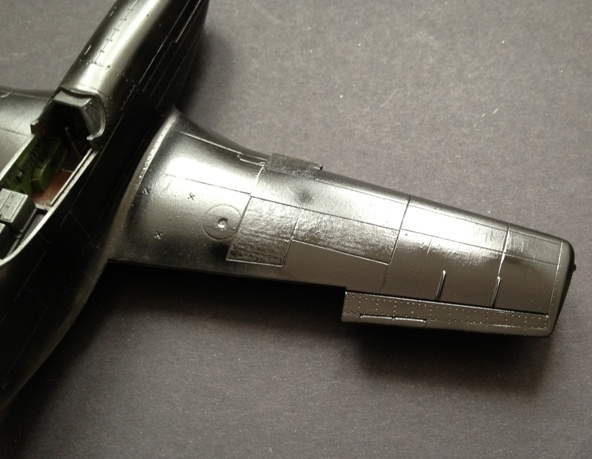
OK, we’ll use the same model to save time and you can see the difference you get by applying a gloss black base for your undercoat rather than the grey we have used so far. The picture pretty much says it all and you apply the black in a very similar way to the grey that you’ve just seen above in that video.
A couple of tips though…
• firstly spray at a reduced pressure, say, 8-10psi (max) the gloss black will spray much glossier and that’s what you are after
• secondly – keep your airbrush nozzle moving; you don’t want to risk pooling the paint by being too static during the spray movement – that’s it really and remember, you can use Tamiya Gloss Black instead of the Alclad2 Gloss Black Base – it’s up to you.
You can watch the Alclad2 guys spraying their Gloss Black Primer in their videos available on their website
Spraying the Alclad2 Chrome lacquer (ALC 107)
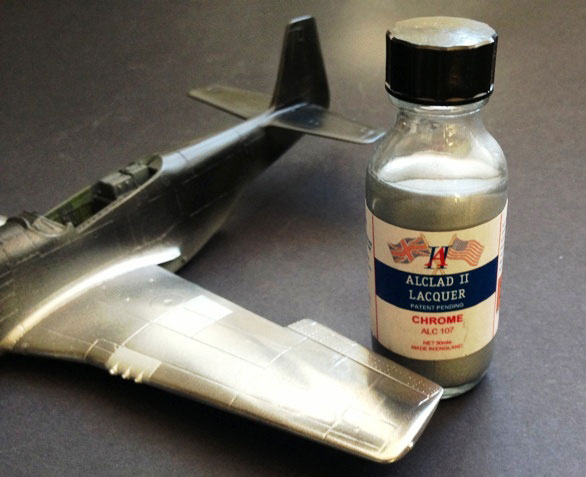
You can see that here my intention is to create a high-gloss, shiny surface to create a chrome-like finish. We know the lacquer has to go onto a nice glossy surface and I usually leave the black overnight before I try to spray the Chrome (ALC-107).
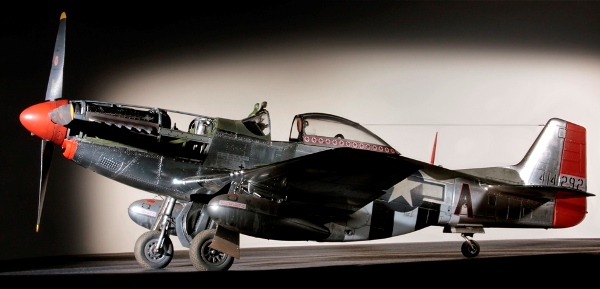
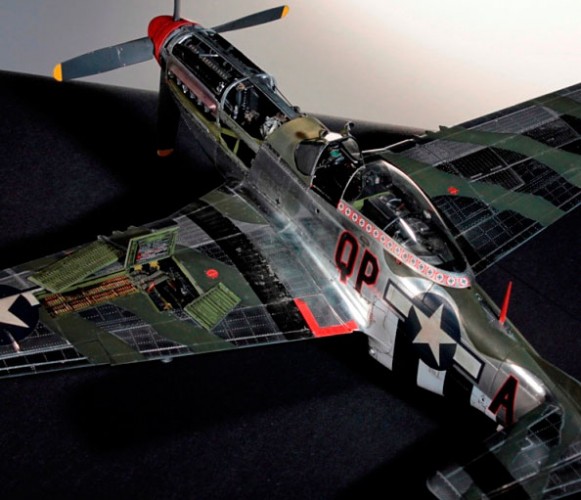
You can see the high-shine chrome finish that’s possible in the video and also take a look at this image where Julian S went full out for this high-shine effect on his Tamiya 1:32 P-51D Mustang; to be clear he just wanted to show how chrome-like you could get using the techniques described here – not the most authentic finish for a Mustang of the period but that wasn’t his aim!
Creating bright finishes
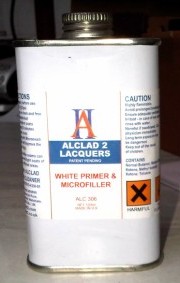
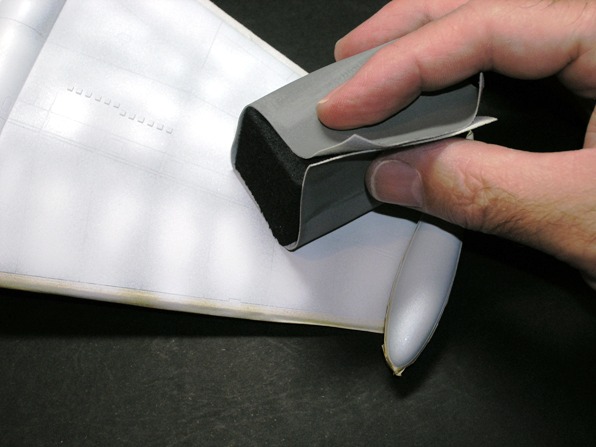
You can vary greatly the different tones and finishes by varying your base undercoat as you’ve seen. Gloss Black for high-shine finishes; grey for standard metallic finishes and there’s one further option that I use quite a bit and that’s Alclad2 White Primer – Microfiller. I find this useful for lacquers like: Polished Aluminium and White Aluminium where I want a bright but not chrome-like finish. The white base coat is buffed in the same way as the grey as you can see here where I’m polishing the white primer. Note too in this photo how I have applied the primer more heavily to the centre of the panels allowing some of the grey plastic colour to show through. I find this can create a subtle pre-shading effect and further break up the final look of the finish.
To sum up
Hopefully this series on spraying Alclad2 lacquer helps you to achieve great results in your ‘metallic endeavours’!
In Part 3…
You can see how it is possible to create special effects and also how to apply some weathering techniques to extend even further the multiple effects that are possible with this lacquer.
Geoff C.