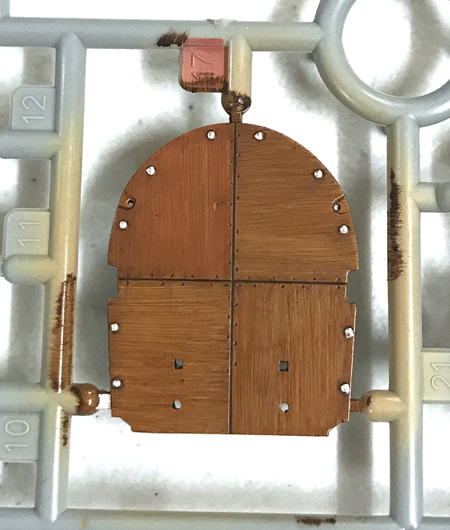
Wood Effects
with Andy Goodwin, Dave C. and Geoff C.

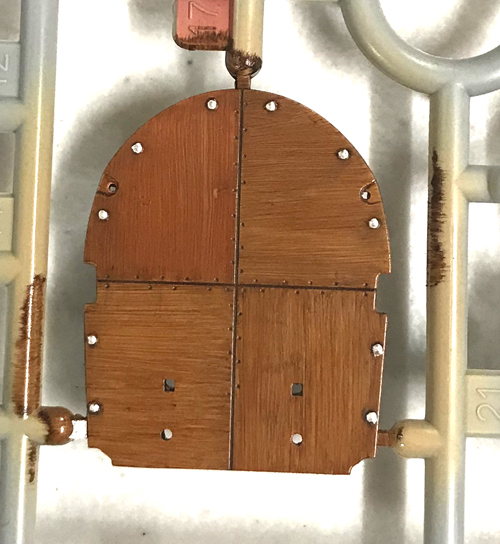
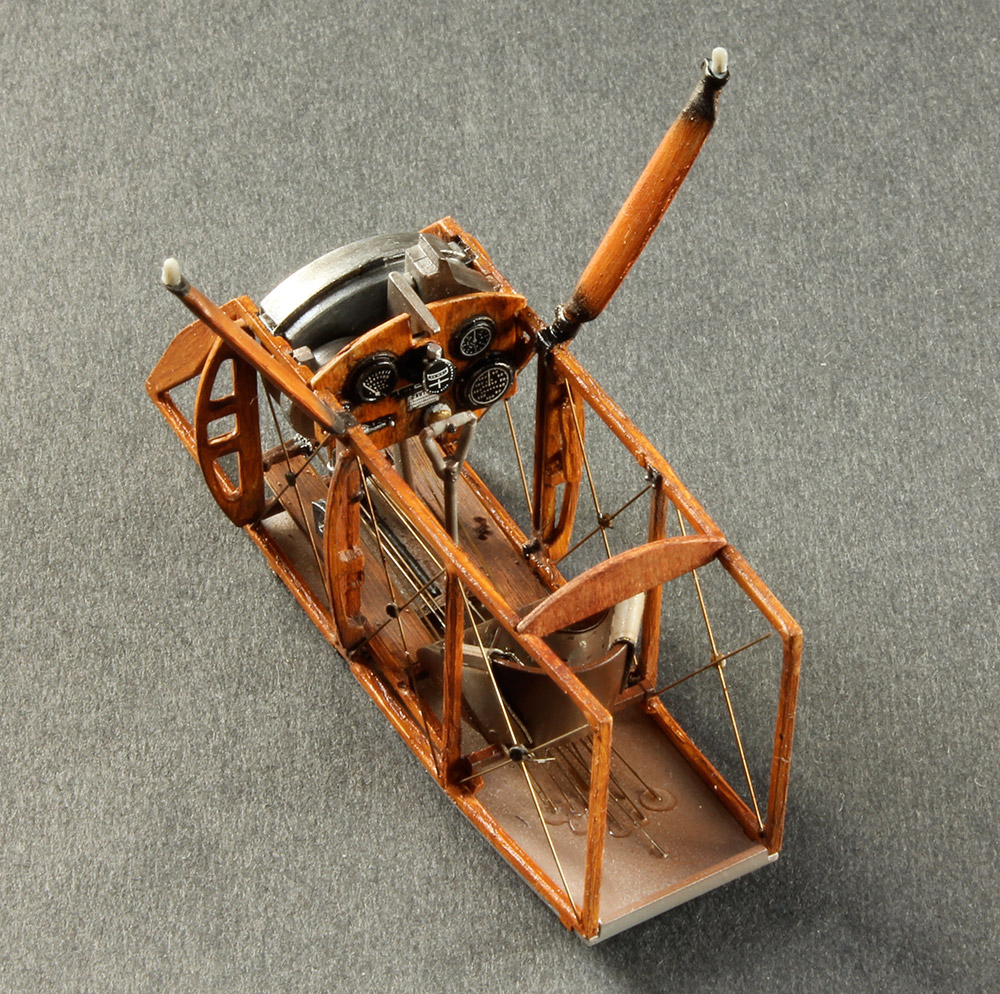
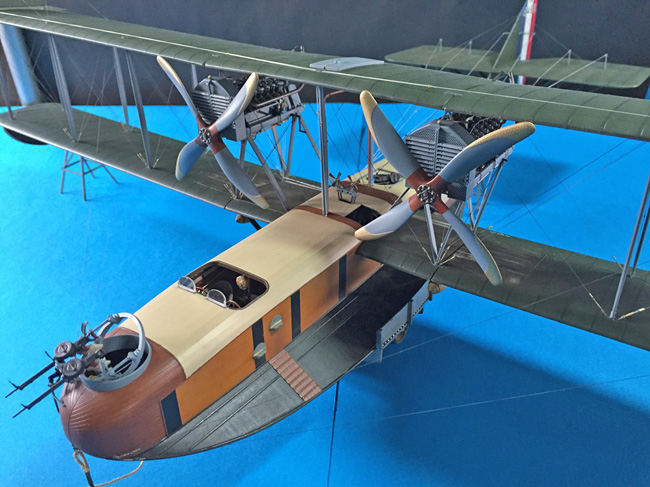
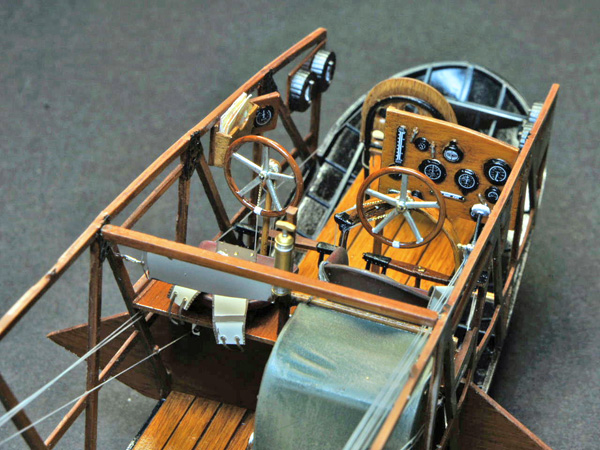
The challenge of trying to replicate realistic wood effects can seem daunting to say the least, when, in reality, it is very straightforward. The incredible effects you can see here are in fact done by Dave C on one of his two Wingnut Wings Felixstowe flying boats in 1:32 scale.
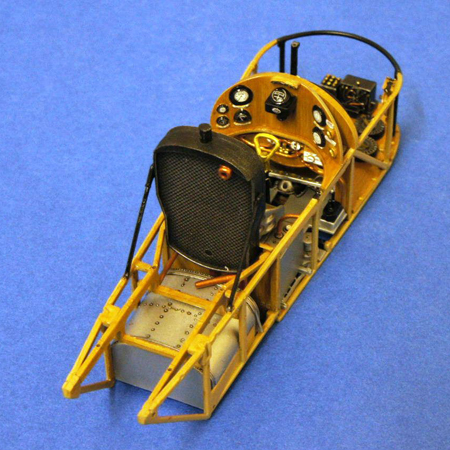
Here are a few more images – don’t you just love that rich woodgrain look to the cockpit interior? I can’t get enough of looking at these and others you’ll find in many of the Wingnut Wings builds we have in SMN – check those out if this subject at all interests you, it’ll be time well spent for sure!
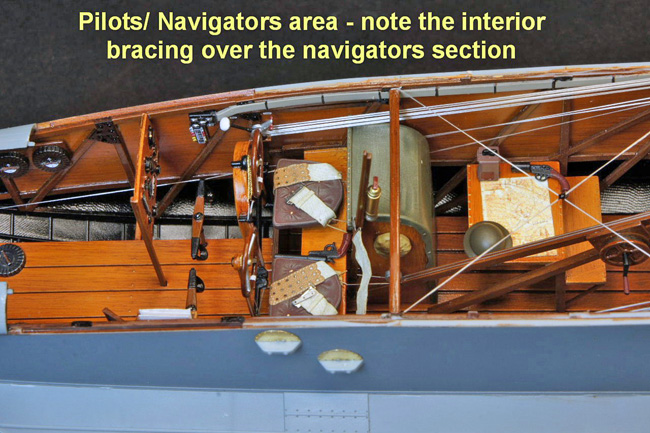
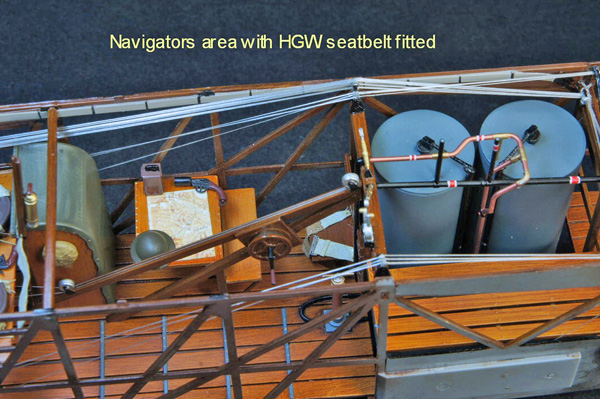
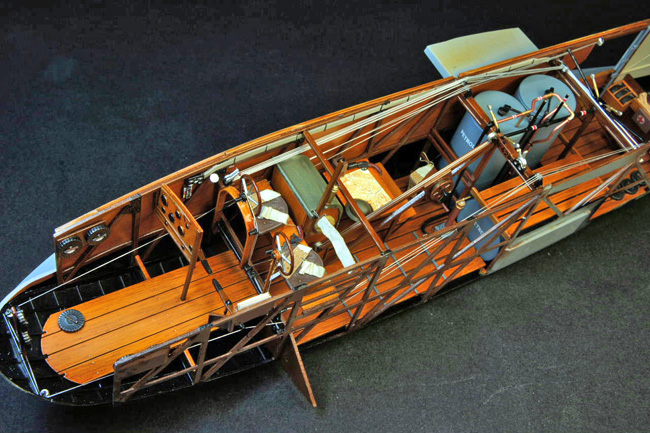
Andy was good enough to give a great short demonstration of his approach at a recent club meeting from where this footage was filmed below and so if you want a quick demo of what materials you need and what to do, just take a few minutes to watch it – the footage lasts about 10 minutes.
VIDEO DEMO
Materials you’ll need:
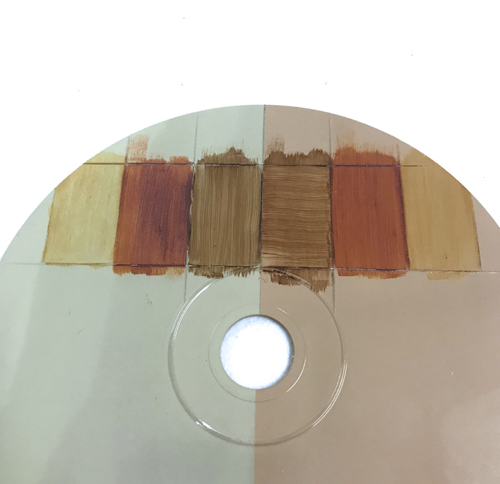
• base painting the parts in your preferred base colour, such as Tamiya Deck Tan or other colour depending on whether you are looking to create darker wood effects like mahogany or lighter ones like teak?
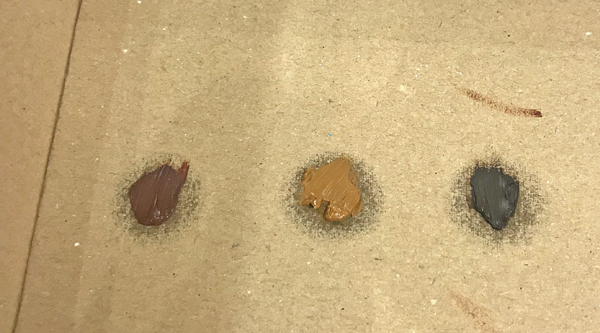
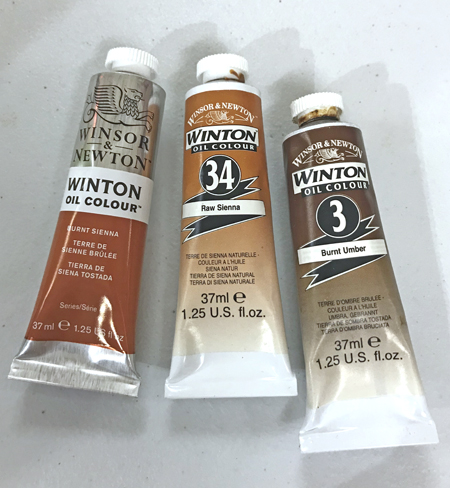
• a selection of oil paints: Burnt Sienna, Raw Umber etc
• brushes – ideally a flat brush to help create the wood grain effect
• low odour oil paint thinners
• old kit box lid to push out some oil paint onto so that the excess oil leeches out, slightly drying out your oil paint.
How it’s done
The easiest and quickest thing to do is just watch Andy’s demonstration that basically involves spreading some oil onto the area you want to create the effect and gradually removing it with your brush in a wiping motion, regularly cleaning off the excess from your brush.
You can then work in subtle wood grain effects with different movements of your paintbrush.
It really is as quick and straightforward as that :)
Good luck and thanks Andy and Dave for your help with this one.
Geoff C.
