The Build…
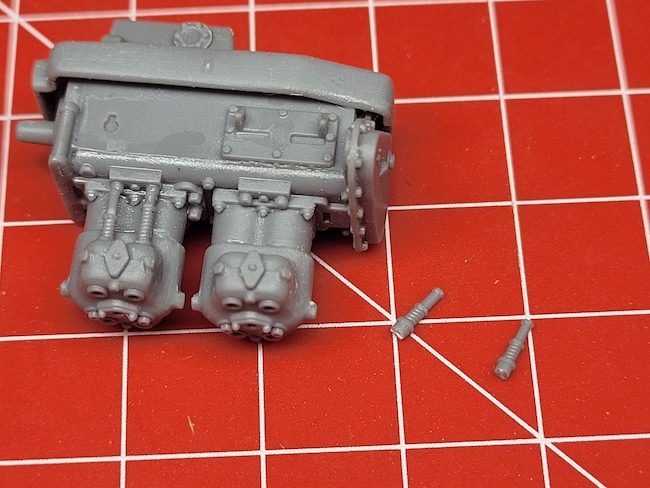
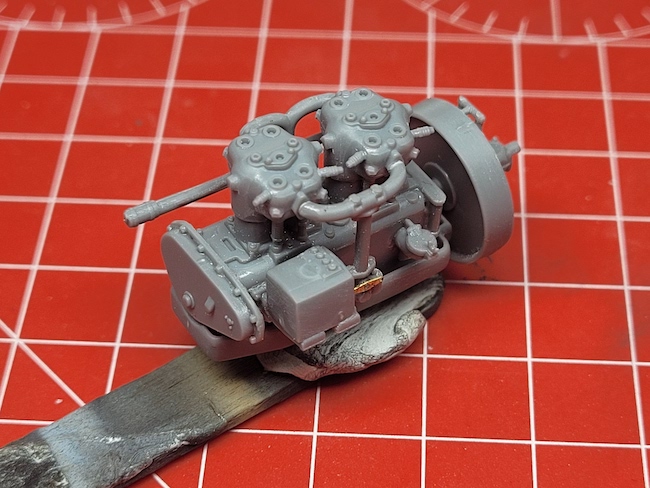
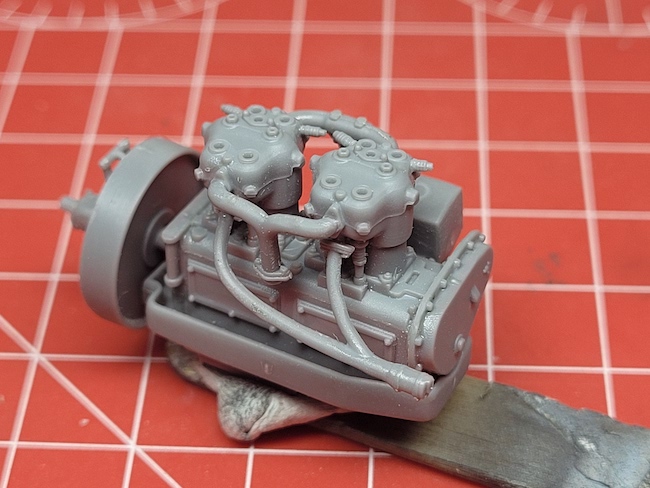
Stages 1 to 6 are concerned with the construction of the engine, fly wheel and transfer box, including spark plugs and manifold. These are all beautifully moulded but there is a moderate amount of flash to be removed.
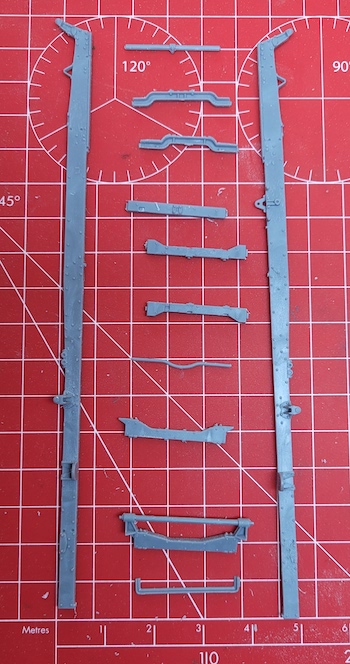
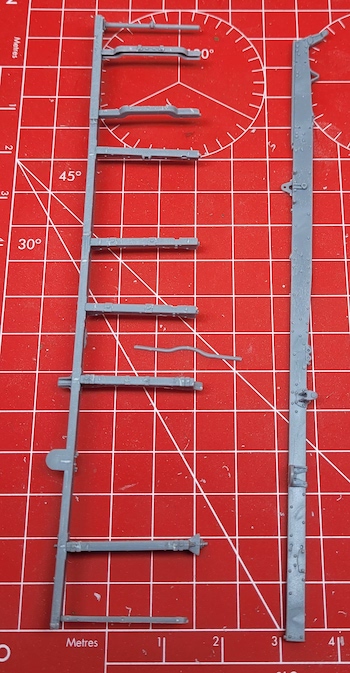
The ladder chassis is exceptionally well detailed with separate frames and cross-members. The best way to construct this chassis is to lay out the parts in the correct order and orientation and glue them to one side of the chassis frame, then when dry, carefully fit the other side. I did leave of the small tubular section until both frames were fitted as it was a very delicate piece and so much easier to fit on completion of the rest of the chassis.
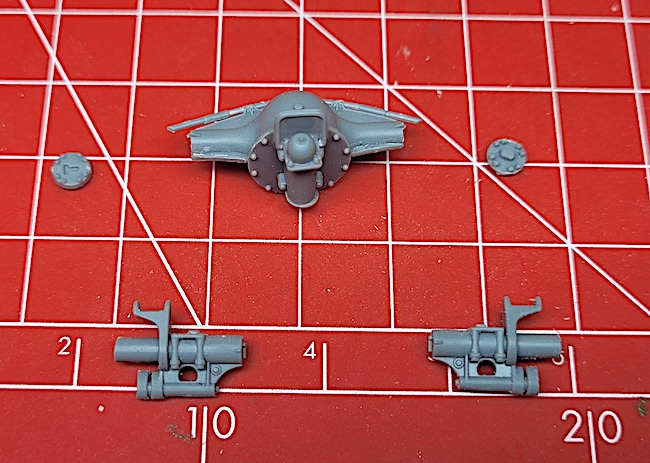
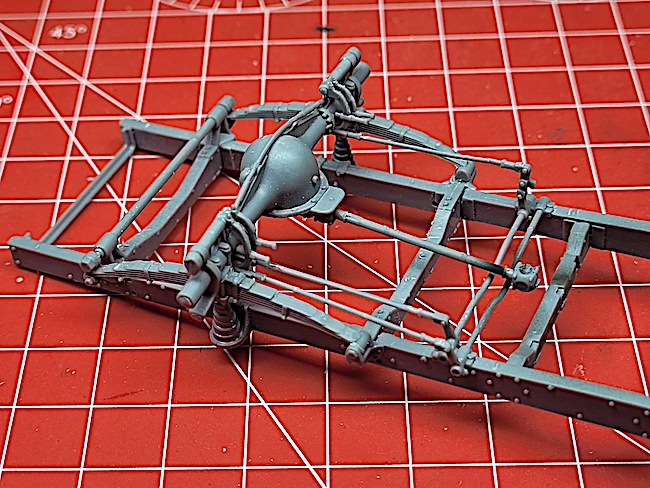
The differential is constructed and fitted to the chassis along with parts of the braking linkage. Once again, the parts are delicate and require careful preparation and cleaning-up before fitment.
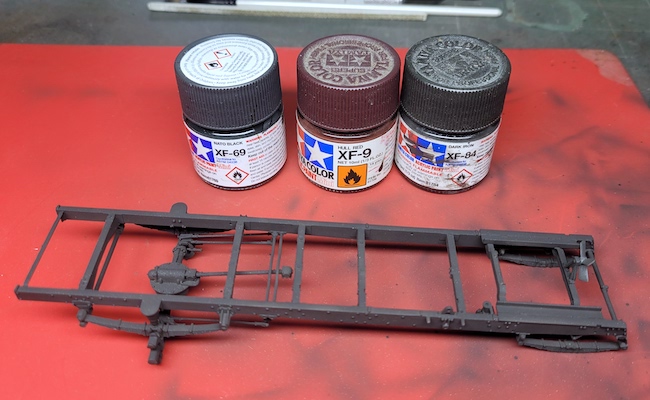
The chassis is painted with a 4:2:1 mix of Tamiya NATO Black, Dark Iron and Hull Red.
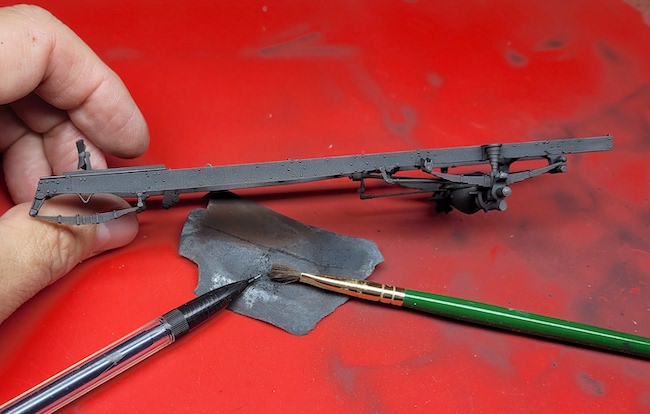
Pencil graphite is dusted onto the painted chassis with emphasis on the edges.
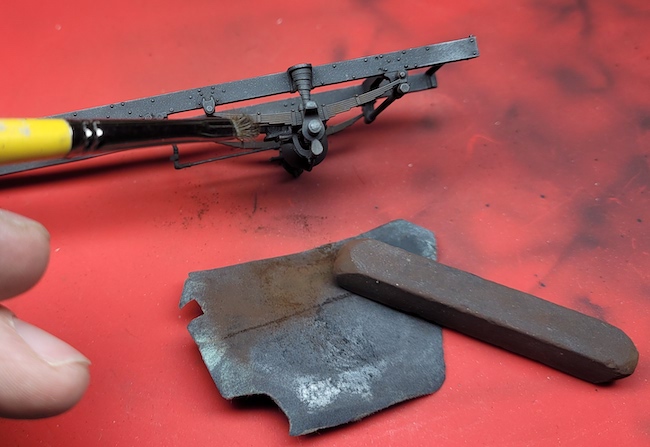
Ground red-brown artist pastel is dusted over the leaf suspension.
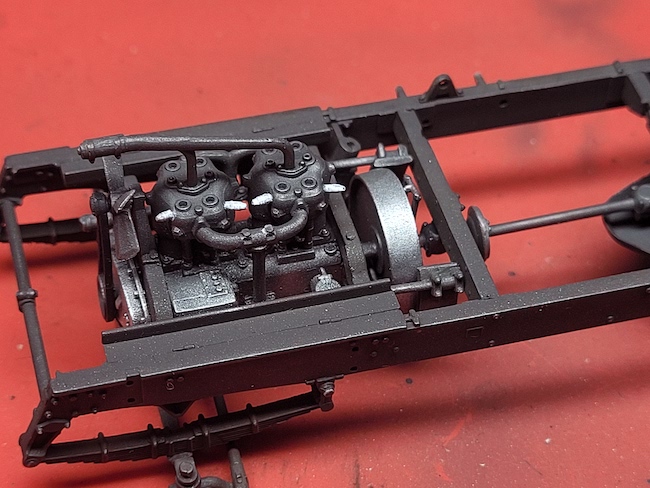
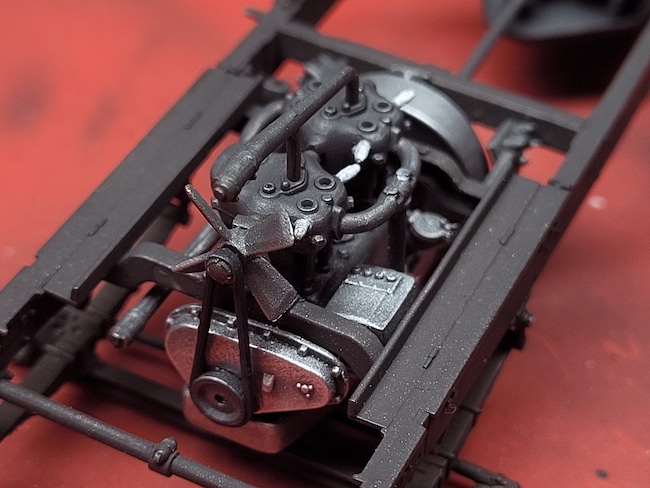
The engine is fitted to the chassis along with its fan and belt. The engine is painted with NATO Black and like the chassis is then dusted with pencil graphite. The sump is finished with SnJ polishing powder.
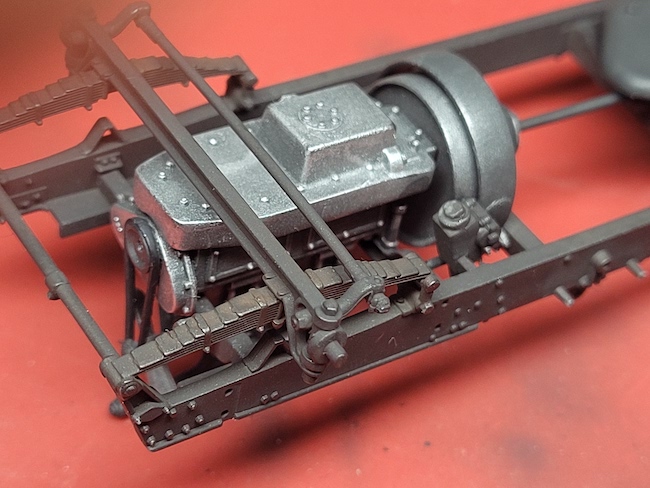
The steering rack is also fitted at this point.
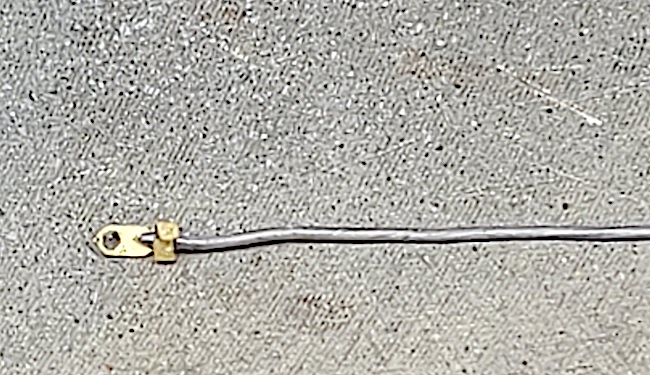
MiniArt provide etch brass connectors for the spark plugs. I used suitably sized pieces of lead wire for the cables.
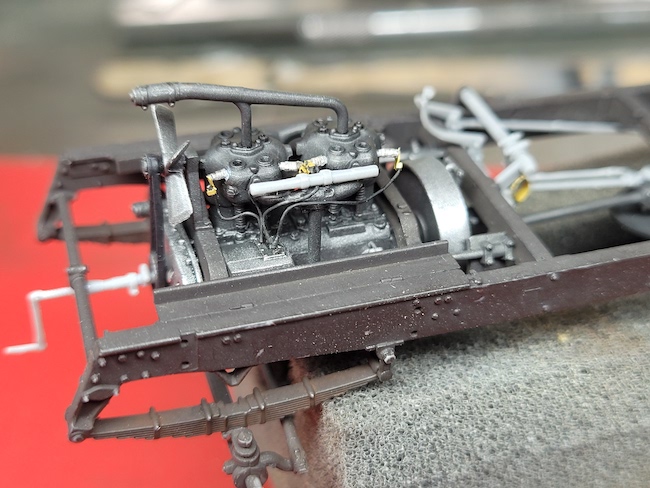
The spark plugs and leads are carefully attached using medium viscosity cyanoacrylate glue.
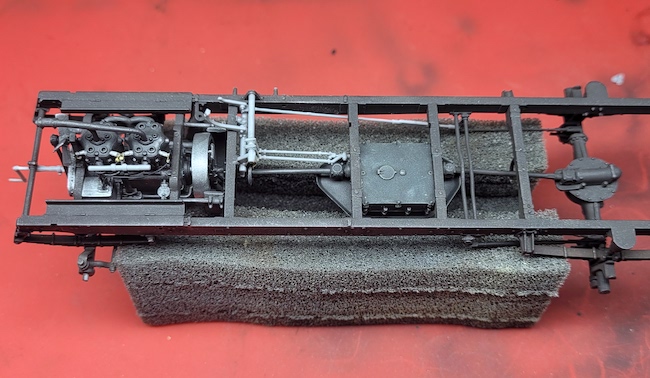
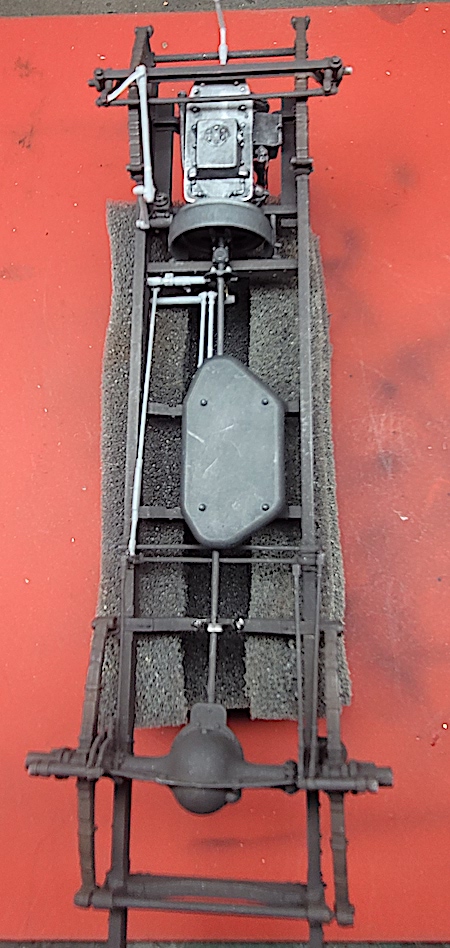
Brake and clutch pedals and linkages are fitted and are hand painted with the same NATO Black, Iron and Hull Red mix as the rest of the chassis. Note here that I’ve elected to fit the rather delicate engine starter crank, mistake! It wasn’t long before it broke off. It was refitted at the end of the build!
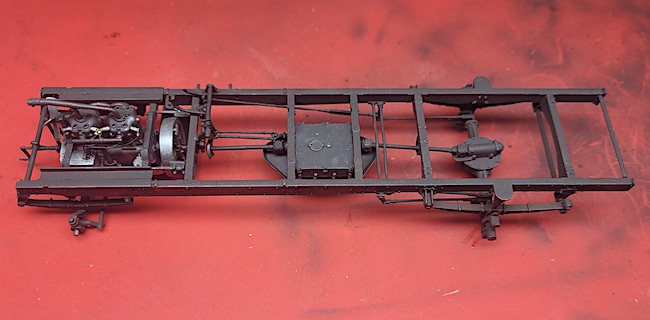
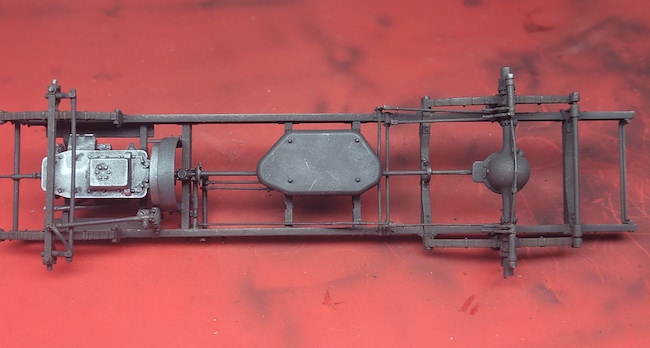
Top and bottom views of the completed chassis.
Albert Moore says
This is nicely painted and appropriately weathered for a working vehicle. Thank you for giving the mixing ratio for your chassis color, it looks very authentic.