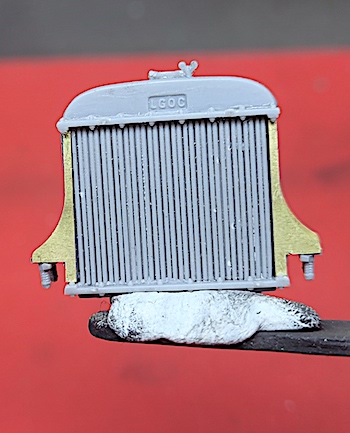
The radiator is a complex build of 18 individual parts including pieces of etch brass. Incredibly, the wingnut on top of the radiator is an individual part!
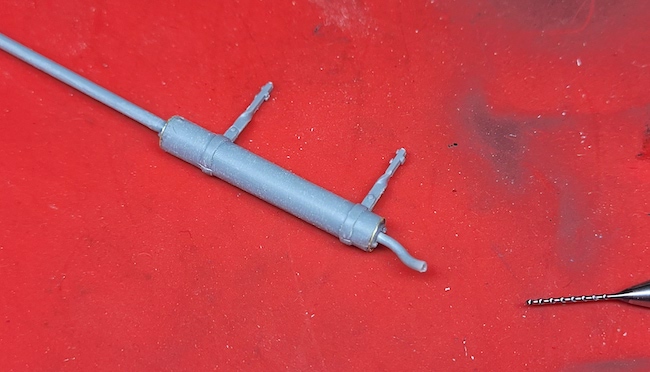
Like the radiator, the exhaust is built-up from plastic and etch brass parts. Here I’ve very carefully drilled out the end of the exhaust pipe.
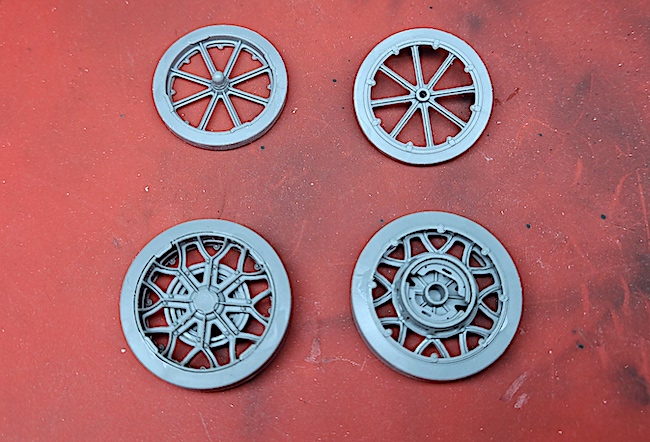
Both sides of front and rear wheels. The front wheels are a three part piece whilst the rear are constructed from 6 parts.
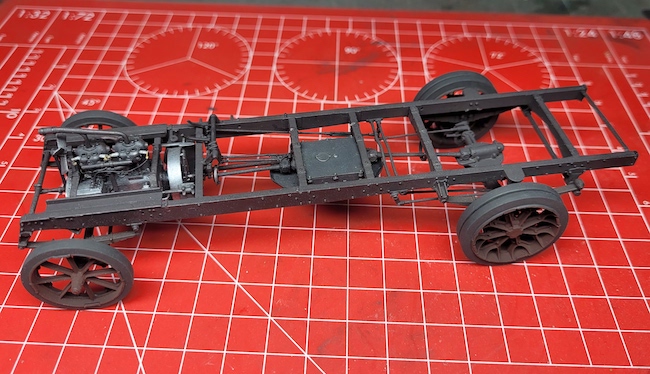
Wheels are painted hull red to the inner section and the tyres are painted with Lifecolor black before fitment to the chassis.
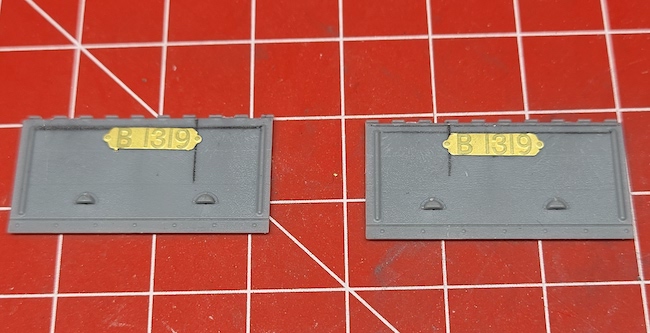
The engine panels marked out for fitment of the Vehicle ID plates.
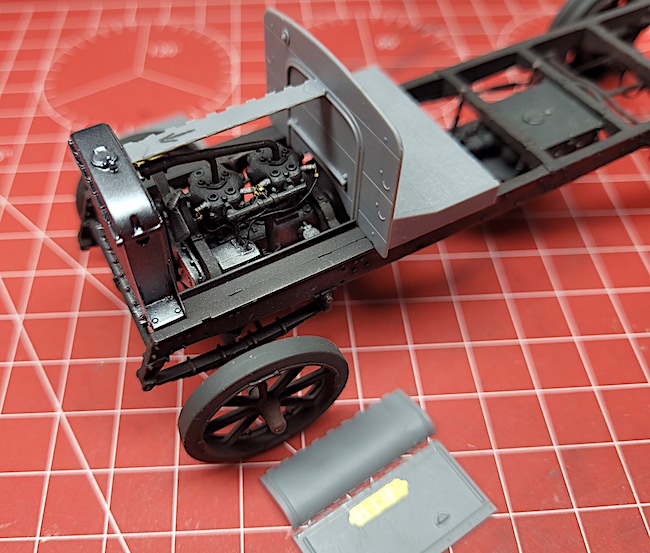
The cab floor and front bulkhead complete with bonnet hinge panel. Careful study of the instructions is required for correct orientation of this item hence the pencilled arrow on this part.
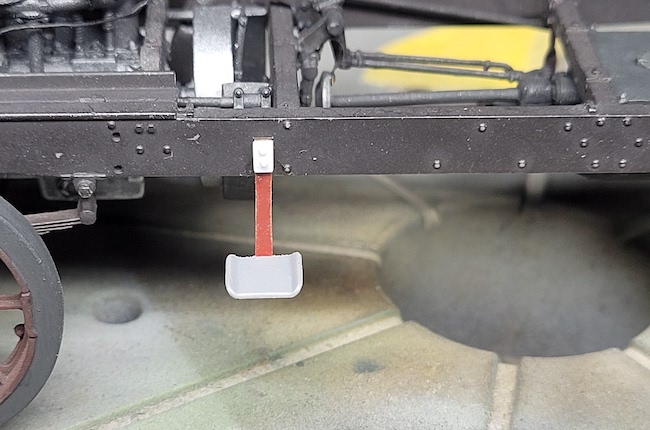
Only the footplate portion of the access step was present on the sprue, therefore scratch building of the attachment bracket was required. Spare etch brass, plastic and stretched sprue for bolts was utilised.
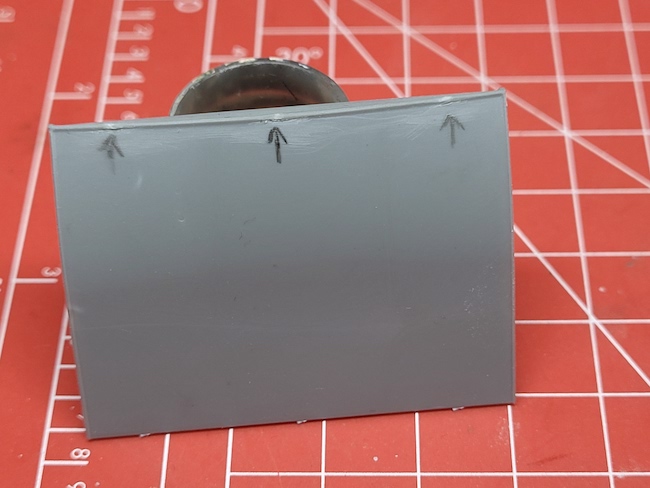
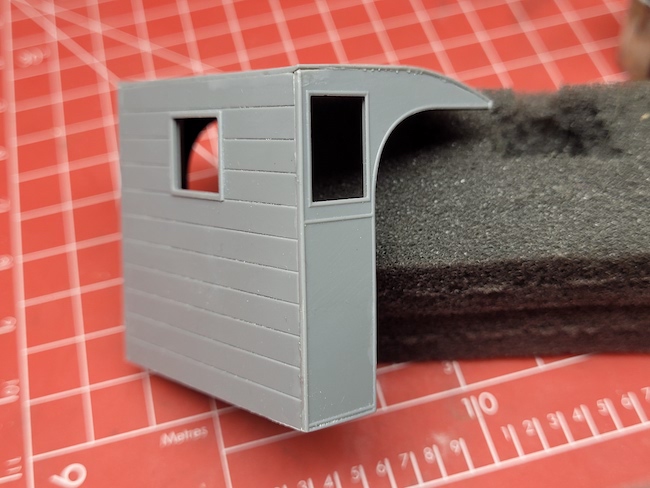
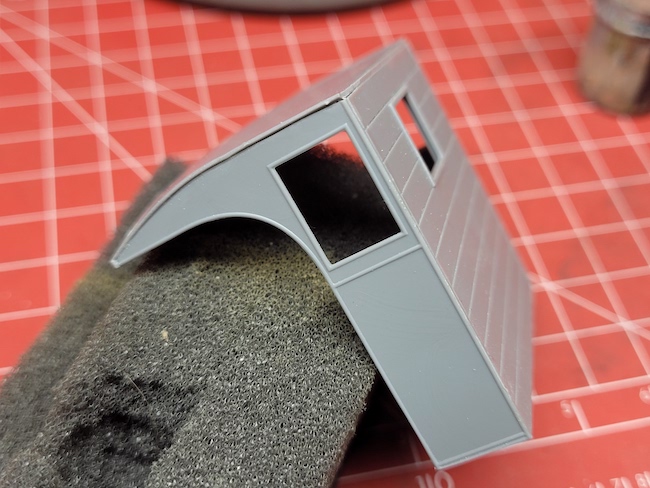
Something went a bit astray when constructing the cab (my fault entirely)! The roof didn’t sit straight and in addition, sprue attachment points on the beading meant that I had to sand off all the beading and replace it with 0.5mm polystyrene rod.
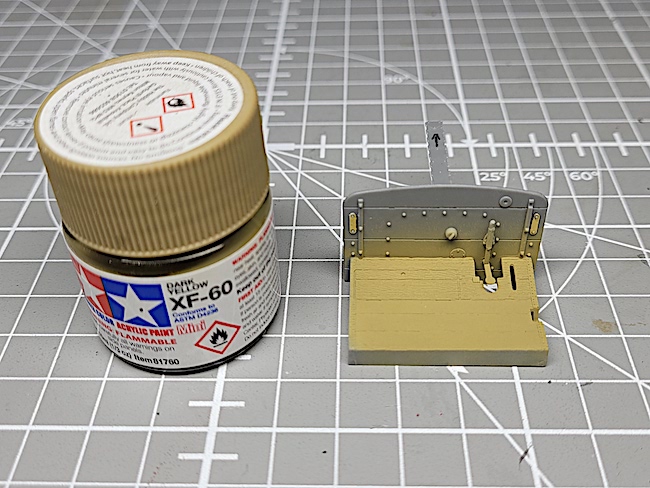
The wooden cab floor was first painted with XF-60 Desert Sand in preparation of oils later in the paint process.
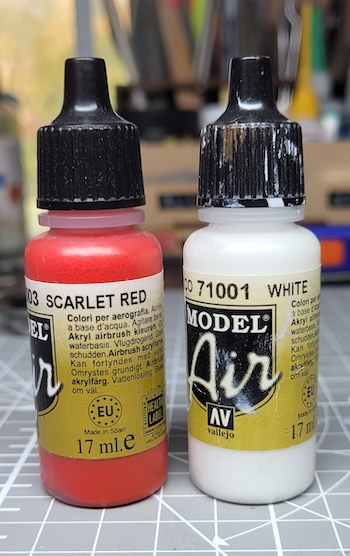
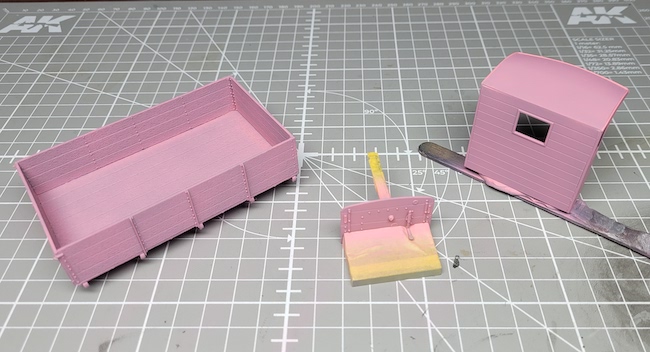
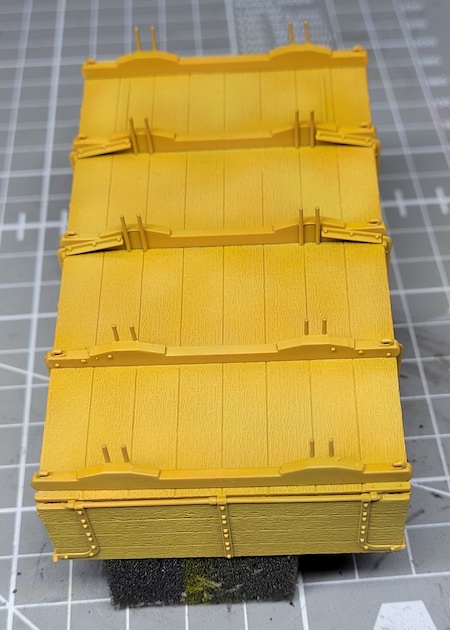
My chosen subject of a London 1918 coal wagon requires yellow paint. As most modellers will be aware, yellow paint is notoriously difficult to apply without a lighter base of some kind (usually white) to enable a good coverage. I chose Model Air’s 71002 Yellow. Now, to me it didn’t look dark enough and for this reason I chose to go with a base of pink mixed from Model Air white with a drop of their red. The aim being to “warm-up” the yellow.
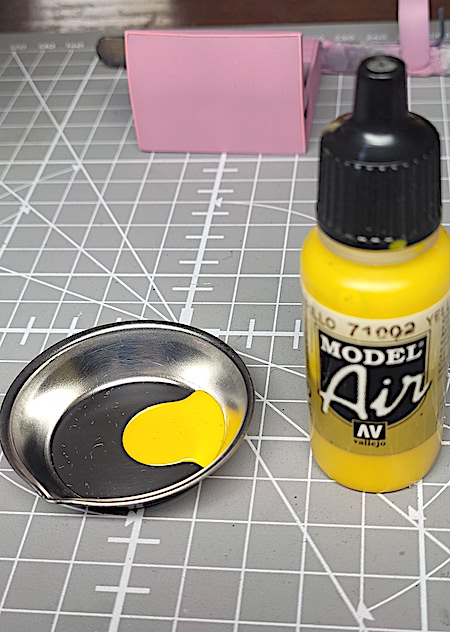
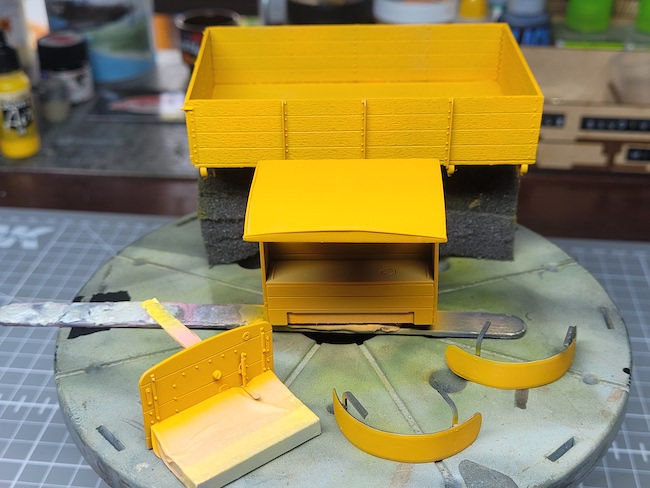
Unfortunately, it turned out too warm.
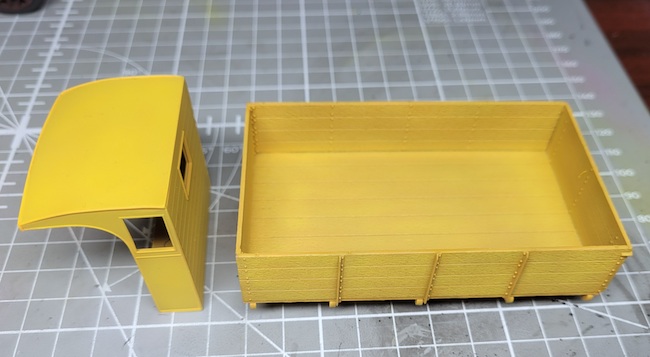
A touch of white is added to the yellow and is sprayed with emphasis on the centre of the planks using the darker yellow as shadow base between the planks!
The underside was left as was. In this view you can see the scale bolts which secure the bed to the chassis. These are another item on this kit that are very fragile!
Albert Moore says
This is nicely painted and appropriately weathered for a working vehicle. Thank you for giving the mixing ratio for your chassis color, it looks very authentic.