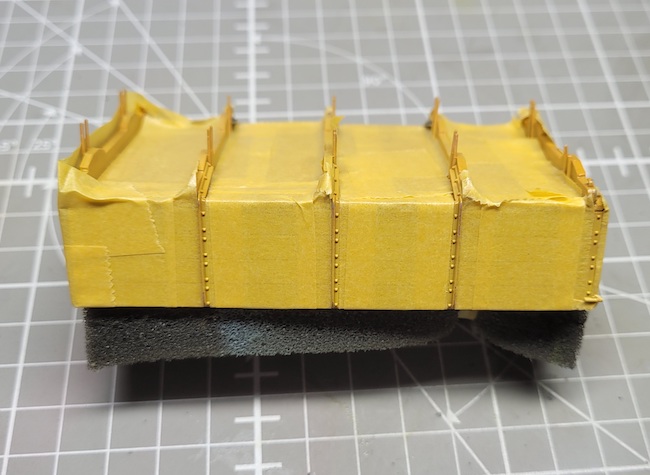
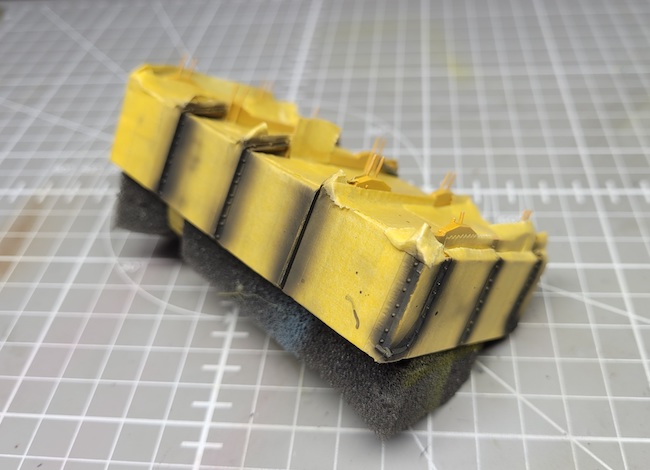
The iron work is masked-off and sprayed Tamiya X-84 Dark Iron and then dusted with pencil graphite.
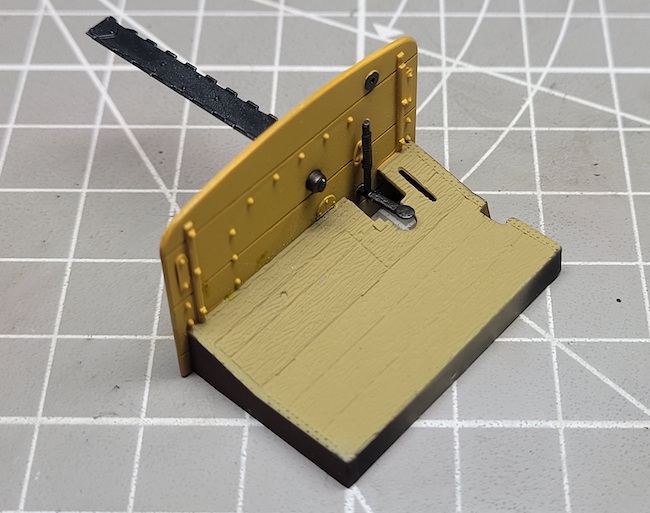
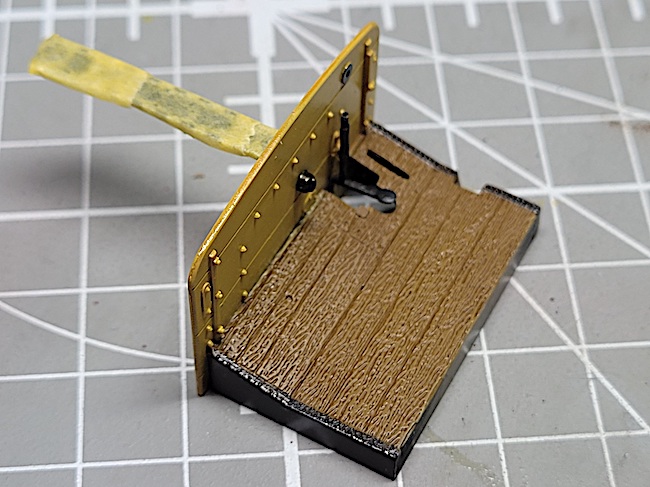
The bonnet centre panel and bulkhead are painted in their respective colours before an application of Burnt Uber oil paint to the wooden floor.
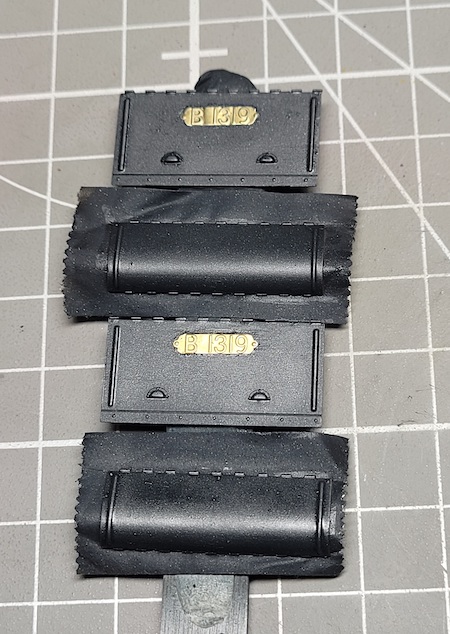
The engine panels were painted with Tamiya XF-69 NATO Black with a few drops of XF-8 Blue followed by a polish of pencil graphite. Confession time! The bonnet ID plates should be white lettering on a black background, however no matter how hard I tried, I failed to achieve an acceptable result. I decided on a bit of artistic license and polished the etch brass plates with an AK fibreglass polishing stick and left them as is!
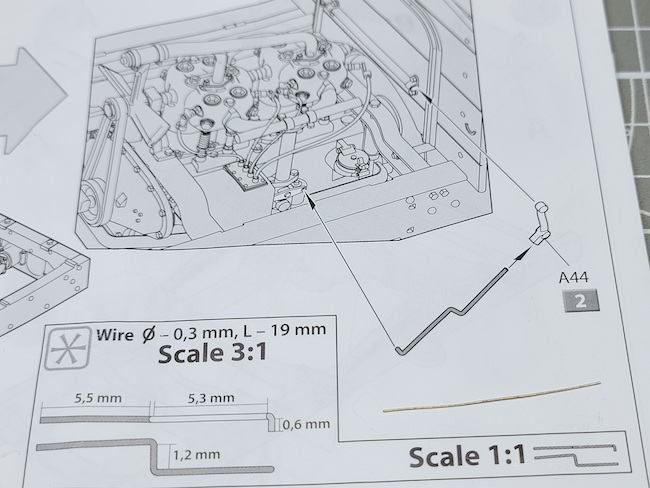
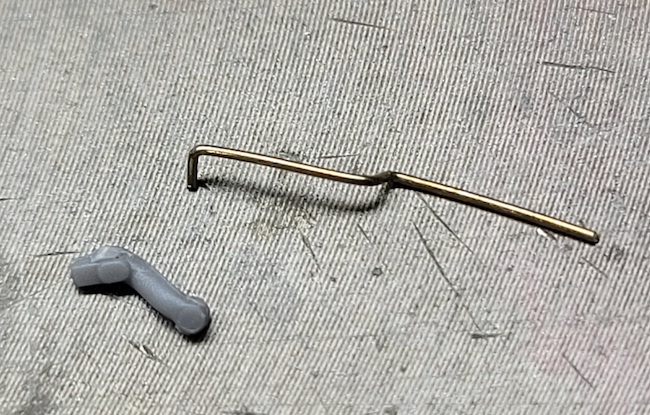
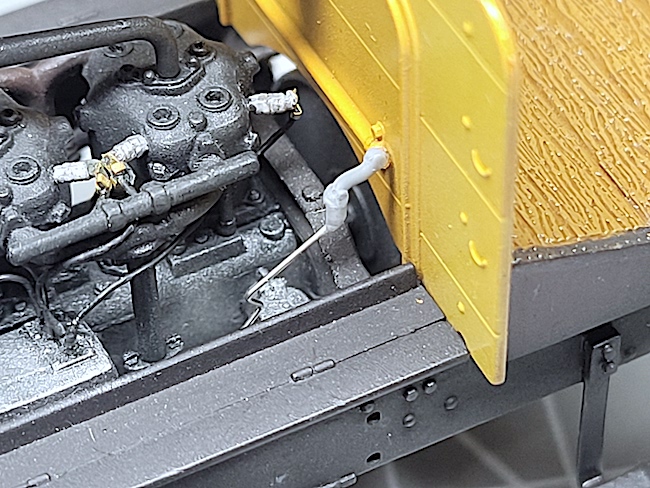
A quick review of the instruction sheet revealed a missed step, that of the construction of the accelerator/engine linkage. This was initial attempt was with Fruil model brass wire used in the construction of their metal tracks. This was not too successful, so it was eventually made with Albion Alloys Nickel Tubing.
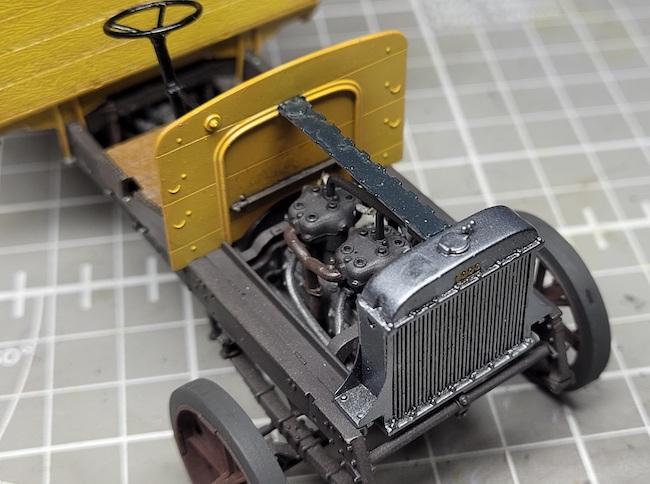
A quick check of work completed so far revealed a spot of glue or varnish on the top of the radiator and to the paintwork of the bonnet hinge panel!
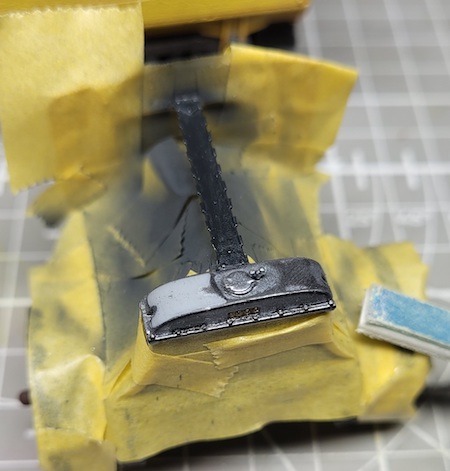
I had no choice but to mask-off the affected areas, sand back to plastic and repaint.
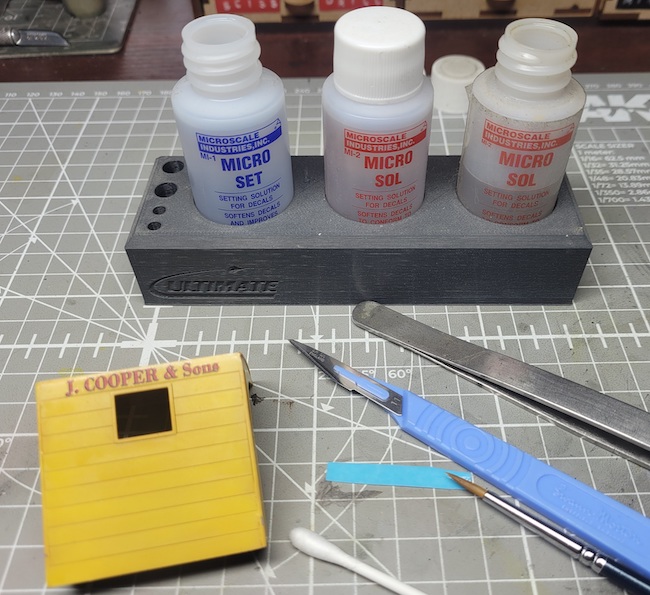
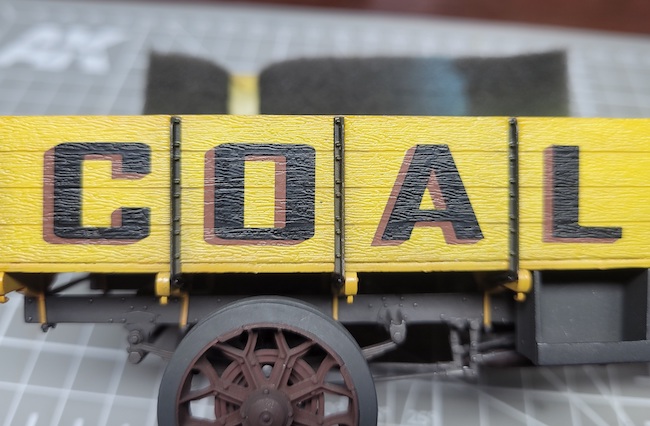
The decals are beautifully printed but quite thin, therefore care was taken in their application. After a couple of brush applied Future floor varnish, the decals settled into the detail beautifully with no problems at all. Micro Set and Sol were used to help bed the decals down. After the decals had dried a further coat of Future was applied.
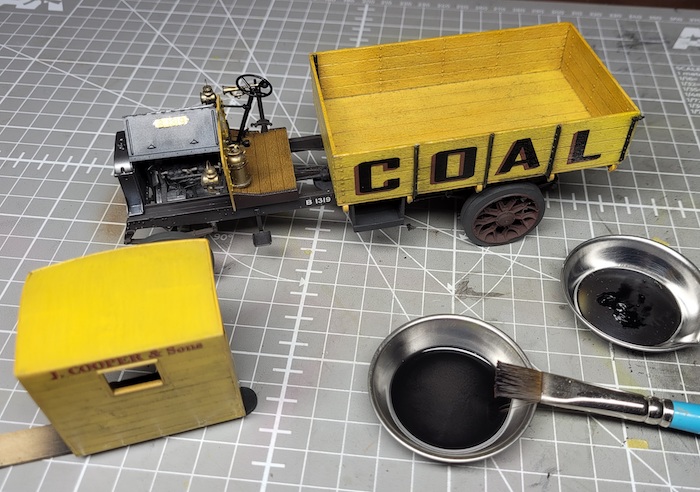
Thinned Abteilung Black oil paint was applied by brush to the yellow painted areas only with a slightly heavier application to the flatbed.
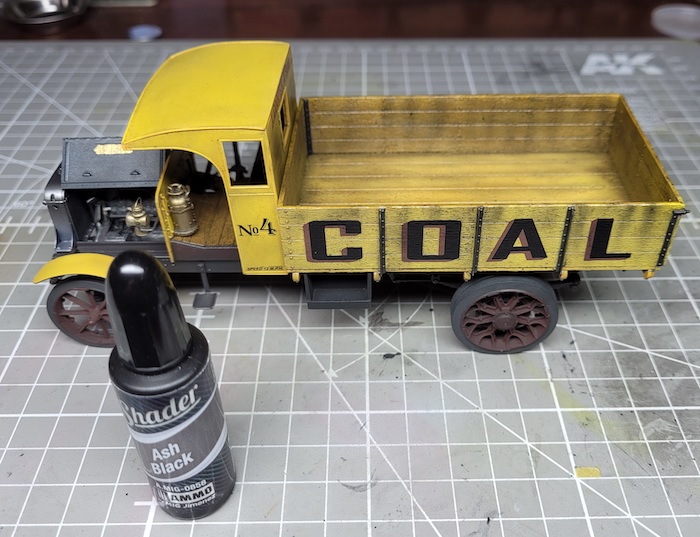
Further weathering was applied with Ammo by Mig Shaders Ash Black. The beauty of this product is that if you are not entirely happy with the result, you can just clean it off for up to a few hours after application. Another advantage of this paint is that it can be airbrushed direct from the bottle!
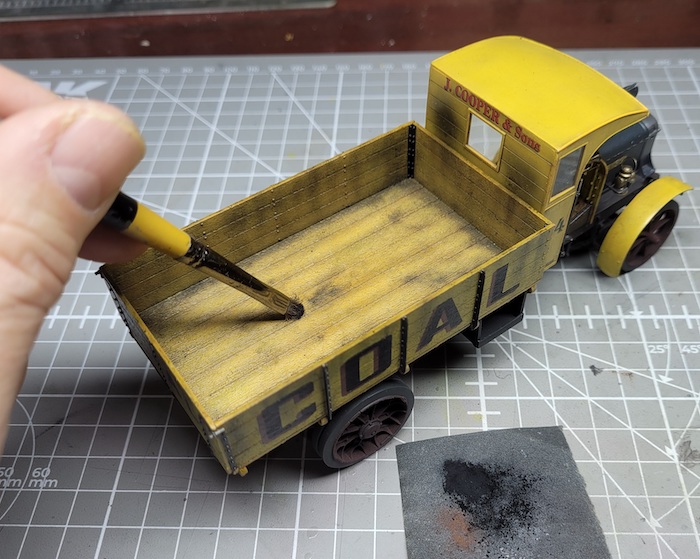
A ground black pastel stick is used like a pigment and was dusted into the nooks and crannies to represent coal dust. It was also randomly applied with a stiff brush into selected areas of the flatbed.
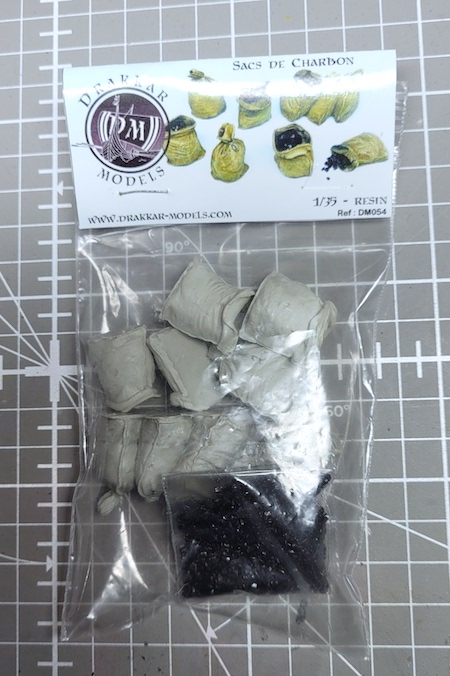
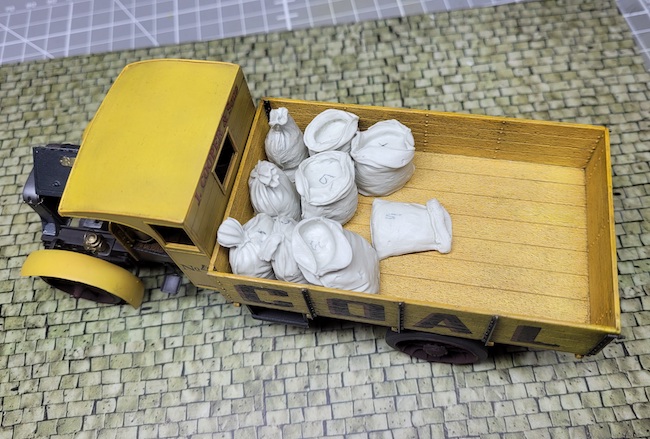
Drakkar models resin coal bags were test fitted to the flatbed.
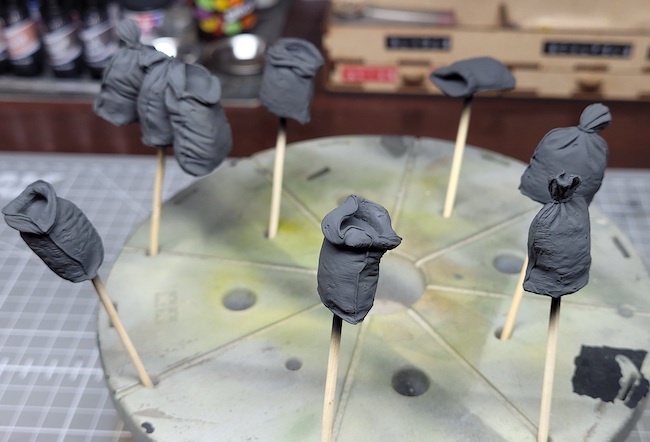
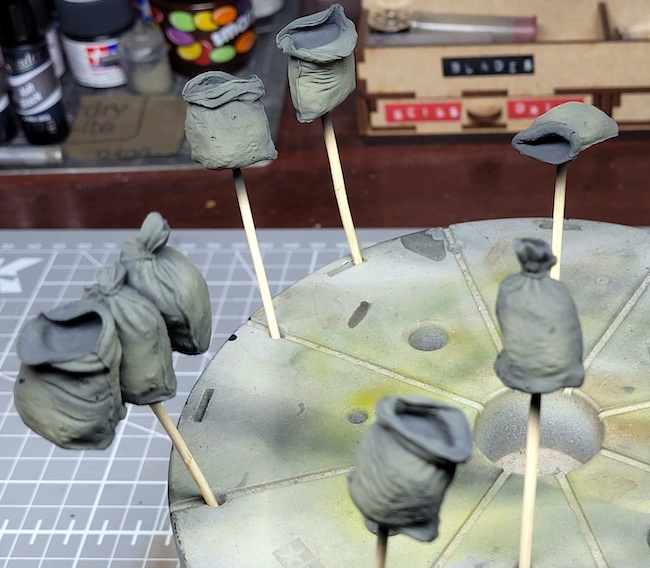
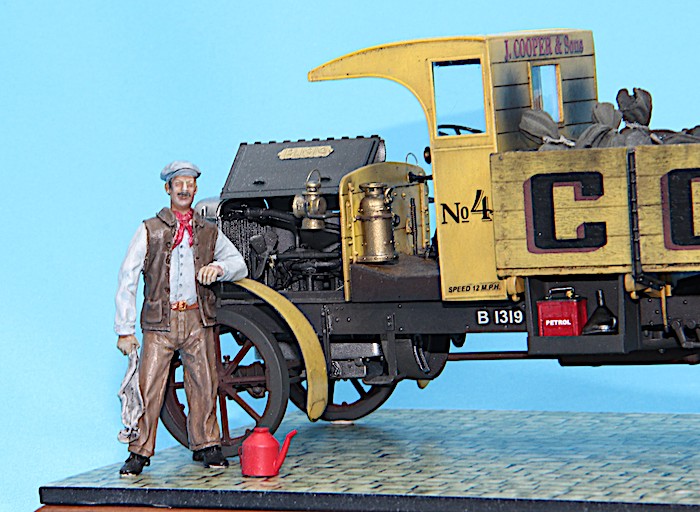
After a bit of cleaning-up of flash on the bags, they were painted Tamiya XF-69 NATO Black followed by a light coating of Tamiya XF-49 Khaki to the outside of the bags.
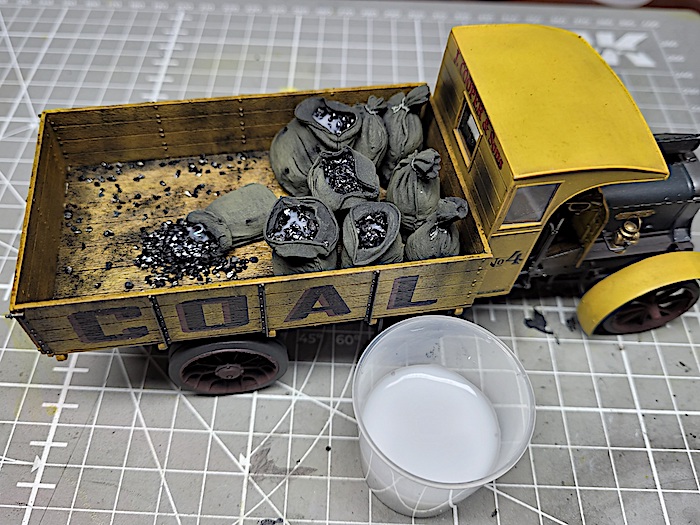
The bags were placed in the flatbed and secured with cyanoacrylate glue, followed by the placing of the coal lumps. A few drops of watered down PVA glue applied with a pipette made sure that the scale coal lumps remained where they were placed.
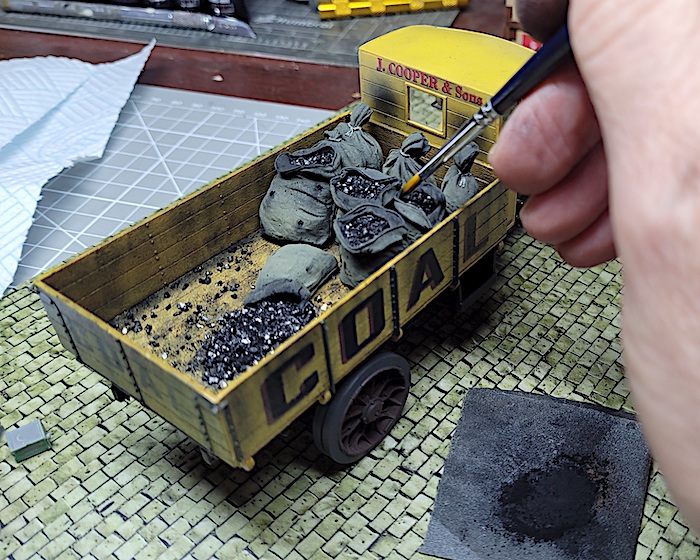
The final bit of weathering was to apply black pastel to the coal and the top of the bags and any simulated areas of holes in the bags.
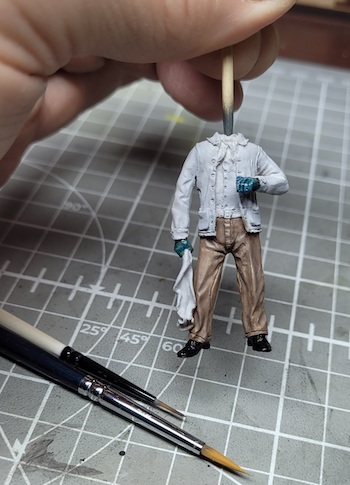
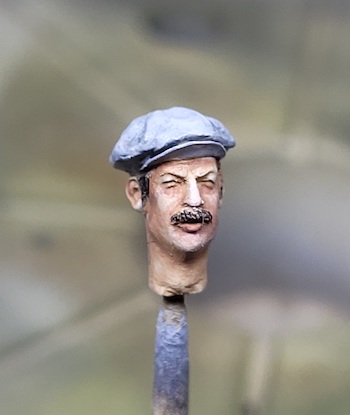
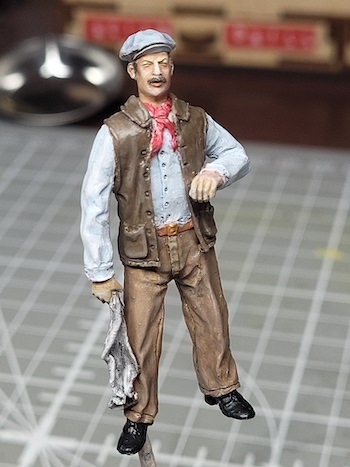
LZ Models civilian workman comes as a rein casting with a couple of options for different arms along with a spade, axe and can with a spout. The figure was coated with grey primer and then painted with acrylics with a final application of a thin wash of black oil paint.
Albert Moore says
This is nicely painted and appropriately weathered for a working vehicle. Thank you for giving the mixing ratio for your chassis color, it looks very authentic.