Short Feature Article with Roger Brown
Well it’s certain that Tamiya make a lot of very fine 1:12 motor cycle kits, in both road bike and race bike versions.
I have built the Honda NSR 500 and converted it to a Cafe Racer and a year or so ago I built the Kawasaki H2R Ninja, apparently the fastest motor cycle you can buy.
All of the Tamiya motorcycle kits are very well moulded with superb detail and perfect fit and are a pleasure to build. The tiny M1.2 and M1.6 screws make the assembly a lot easier and quite realistic.
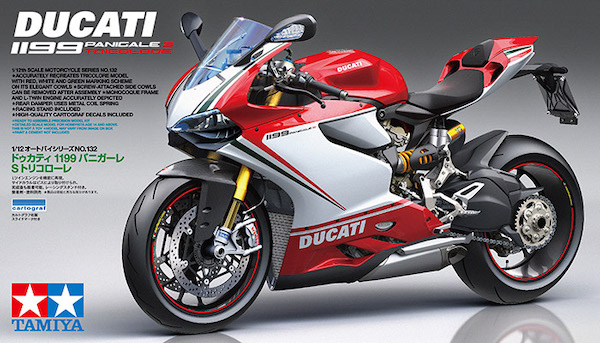
The Ducati 1199 Panigale is a sports bike equipped with a 90 deg L-twin cylinder engine of 1198cc producing 195hp at 10750 rpm. It has a top speed of 177mph, with 0-60 mph in 2.7 seconds, so just perfect for popping down to the shops or a leisurely ride in the country.
The engine of the Panigale serves as an integral part of the frame which also incorporates the air box, to give a lightweight and compact core. The swing arm is bolted to the engine, and the seat frame secured to both frame and engine.
The name Panigale comes from Ducati’s home town of Borgo Panigale in Bologna, Italy.
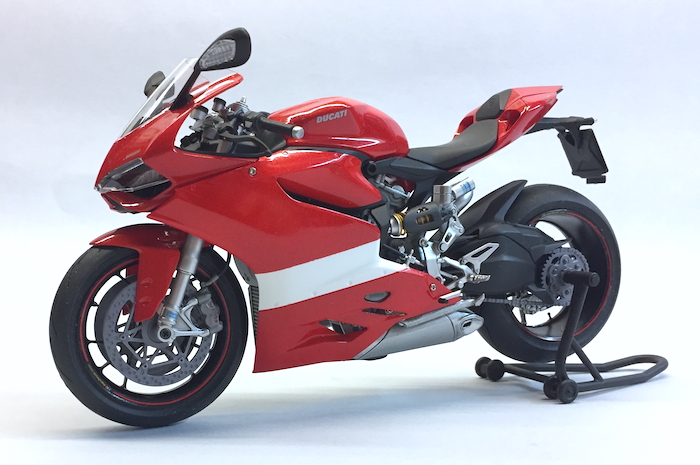
Just before we get started, here’s a quick look at how it all turned out…

Notes on Construction
Basically, the method of construction consists of building several sub assemblies such as the engine, exhaust pipes, frame, forks, swing arm, seat, fuel tank, mudguard etc. and then spraying these items before assembly.
There are many small parts, some of which can be left on the sprue for spraying, and it’s a good idea to group these parts together with the assemblies and spray the required colour in one session.
The actual final assembly is achieved using the many small screws and some tiny spots of superglue.
The various decals can be applied during the build when the parts had been painted.
Now a few notes on how I go about building these motorcycle kits.
I like to customise the bikes and will change some of the colours to suit.
The current schemes of motor bikes incorporate gloss black, satin black, dark grey, silver, gold with then whatever colour is chosen for fairings and fuel tank etc.
I also like the look of the finished bike with some covers and fairings removed or not fitted in the first place, which then allow the engine/gearbox, exhausts, radiator etc to be visible.
I use mainly enamel paints from Humbrol and Revell.
Both companies produce a range of very high quality gloss, satin and matt paints, and Humbrol have the Metalcote range including Polished Aluminium and Polished Steel.
For the gloss colours I mix them 1 part paint and 1 ½ parts white spirit.
The satin and matt paints I mix equal parts paint and white spirit.
With the metallic colours I mix them 1 part paint and 4 parts white spirit.
I find this ratio sprays very well and gives a smooth finish.
I also apply Tamiya smoke X19, thinned equal parts with water, by brush to all the parts sprayed with metallic colours.